Before we dive in, it's important to note that Studio is not currently available to everyone. Right now Studio is in Alpha, this means only a limited number of users currently have access. This guide is most helpful for those who are part of the Alpha program, however, we like to build in public so we wanted to share this as a way of tracking progress with Studio.
Video Walkthrough
As well as this written guide, we also have a video walkthrough you may find helpful.
Create an account
The first thing you need to do is create an account with Studio, all you need in order to do this is an email address and a password. Once you've created your account you will need to verify your email address, check you inbox and then click the link in the email to complete verification.
Dashboard
Once your account is created and your email verified you'll be able to log in.
Just a quick heds up, if you see a Restricted Access screen, just let us know, we can make sure your account is verified and this will grant you access and get you past the Restricted access screen.
When you login you're taken to the Dashboard. From here you're able to see all your teams and recent projects within each team in one place.
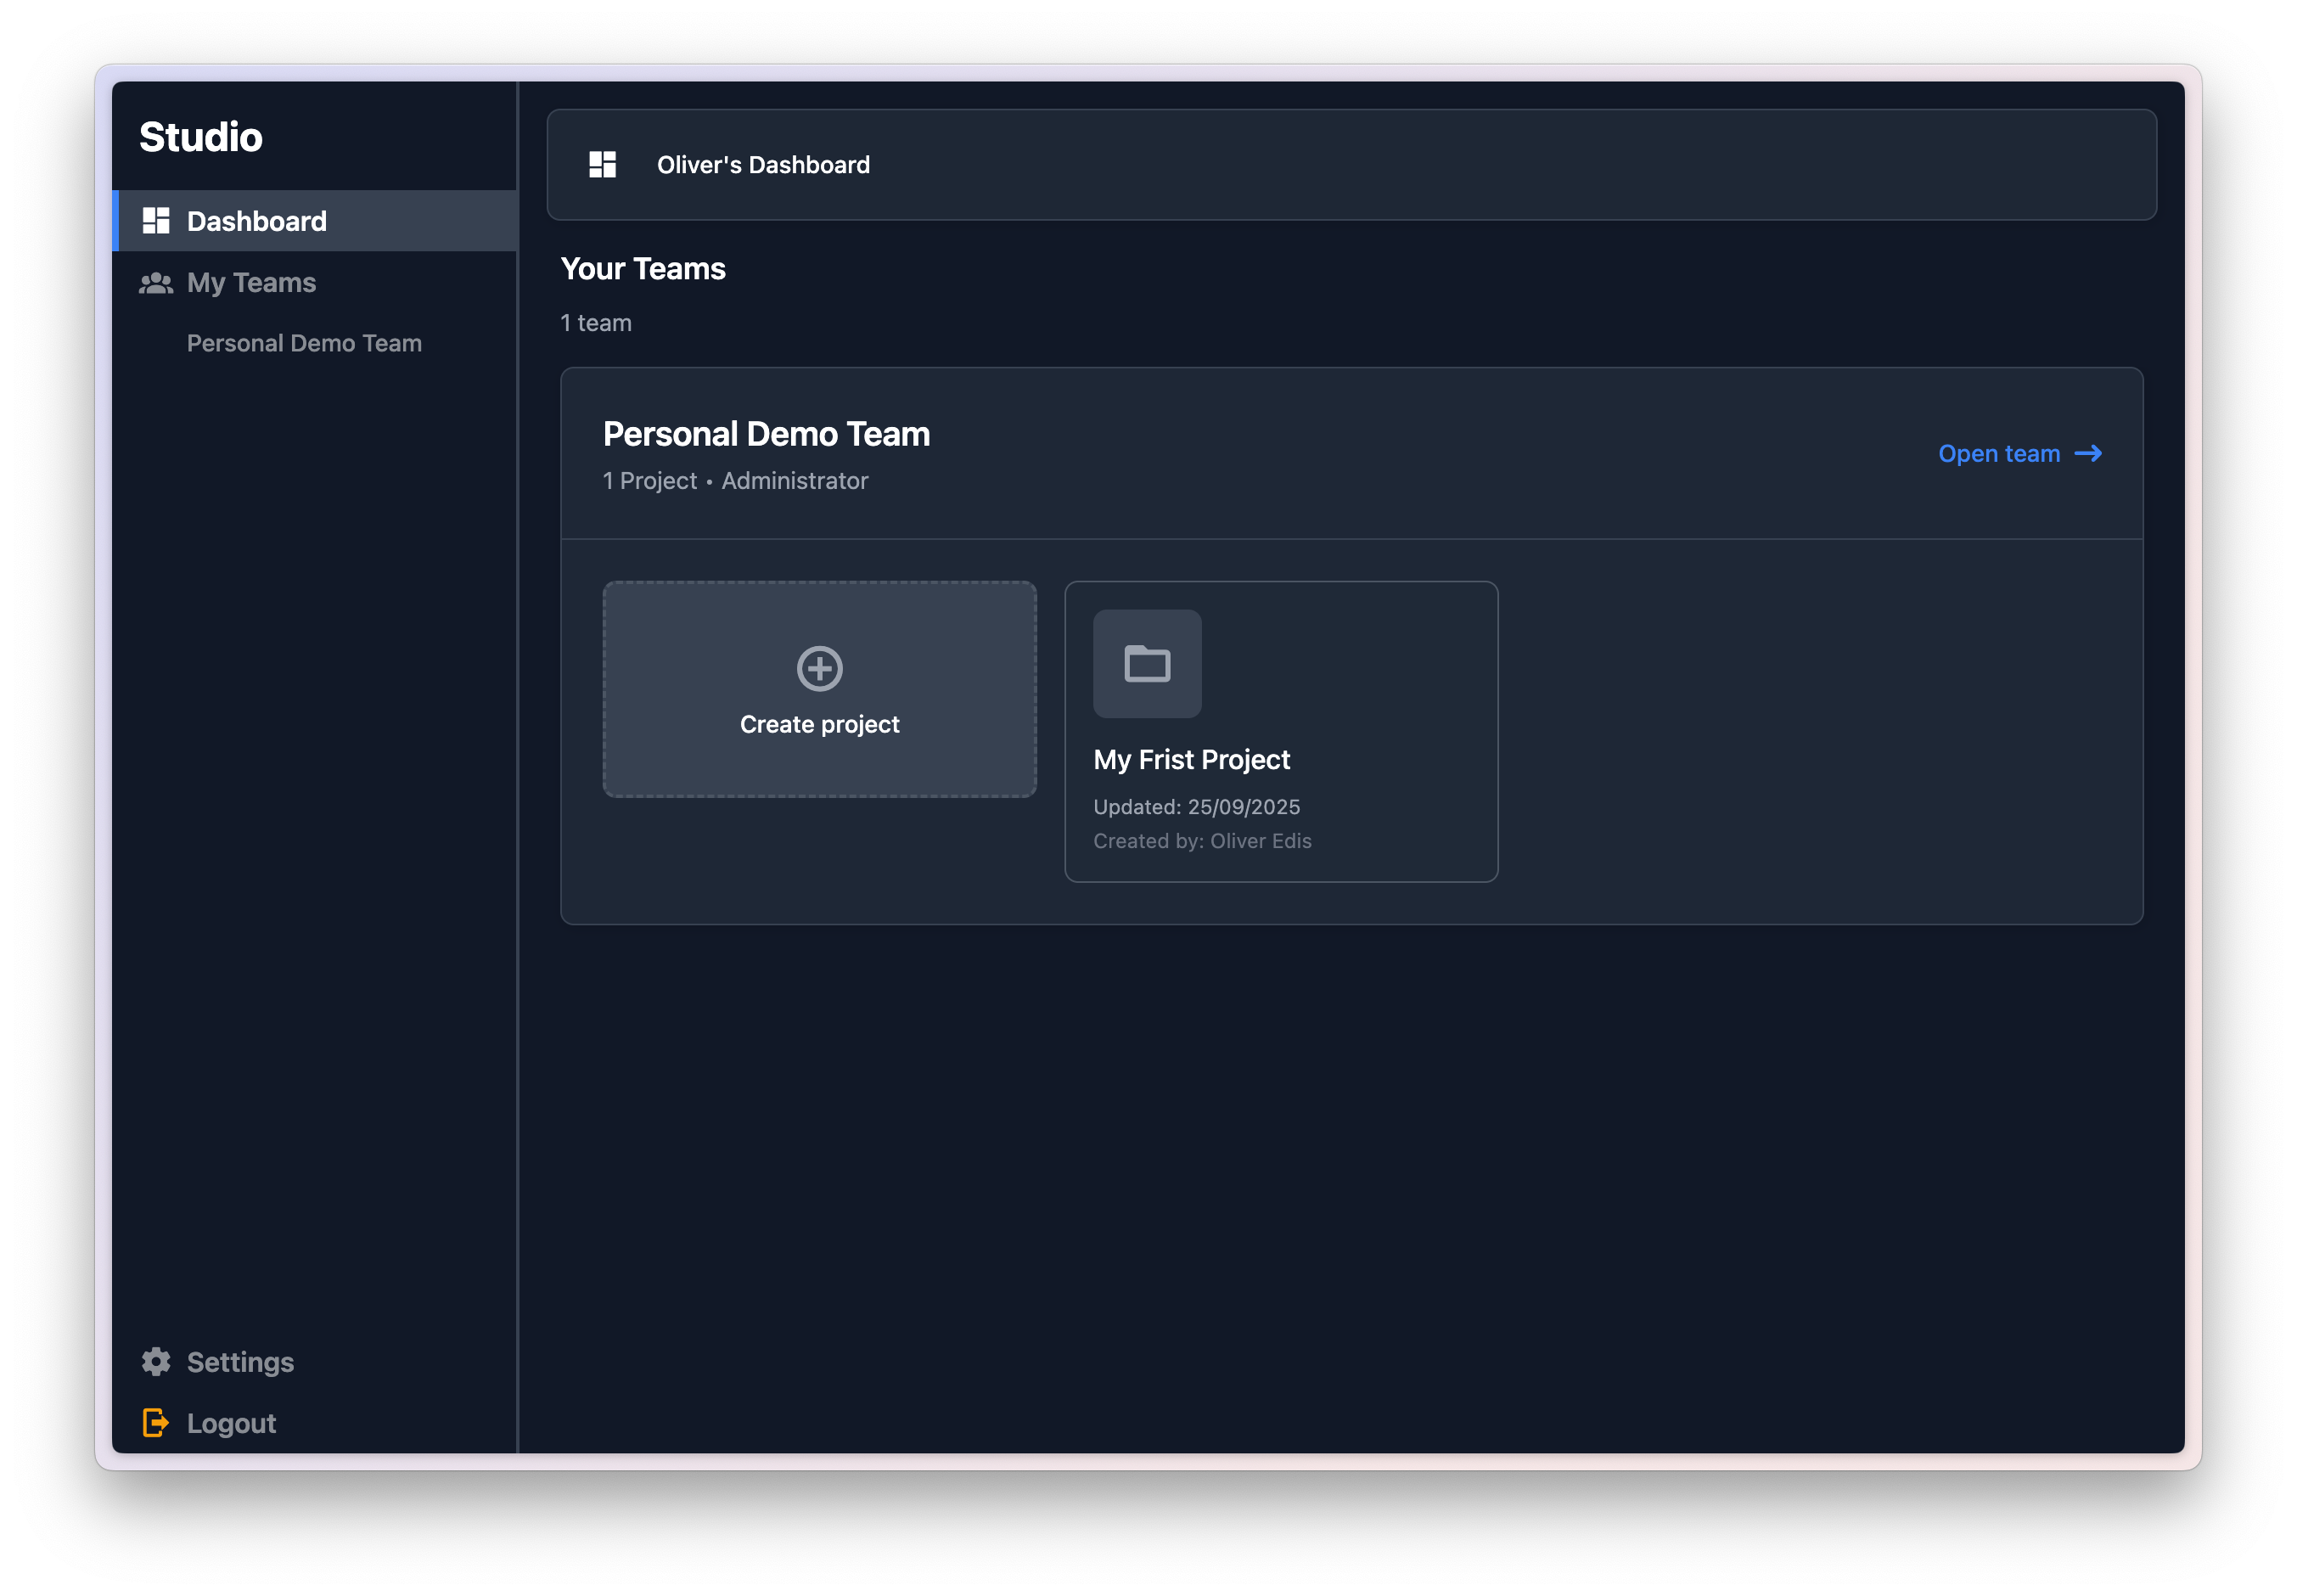
If you don't have a Team setup within Studion you'll see a banner at the top of the Dashboard asking you to create your first team. You can also create a new Team from within the My Teams view (available on the left hand navigation).
All your Teams are also accessible from the left hand navigation:

Create a Team
To create a new Team you can visit My Teams, available on the left-hand navigation. You'll see your Teams displayed as tiles in a grid with the first tile being a Create new team tile, simply click this to start creating a new Team.
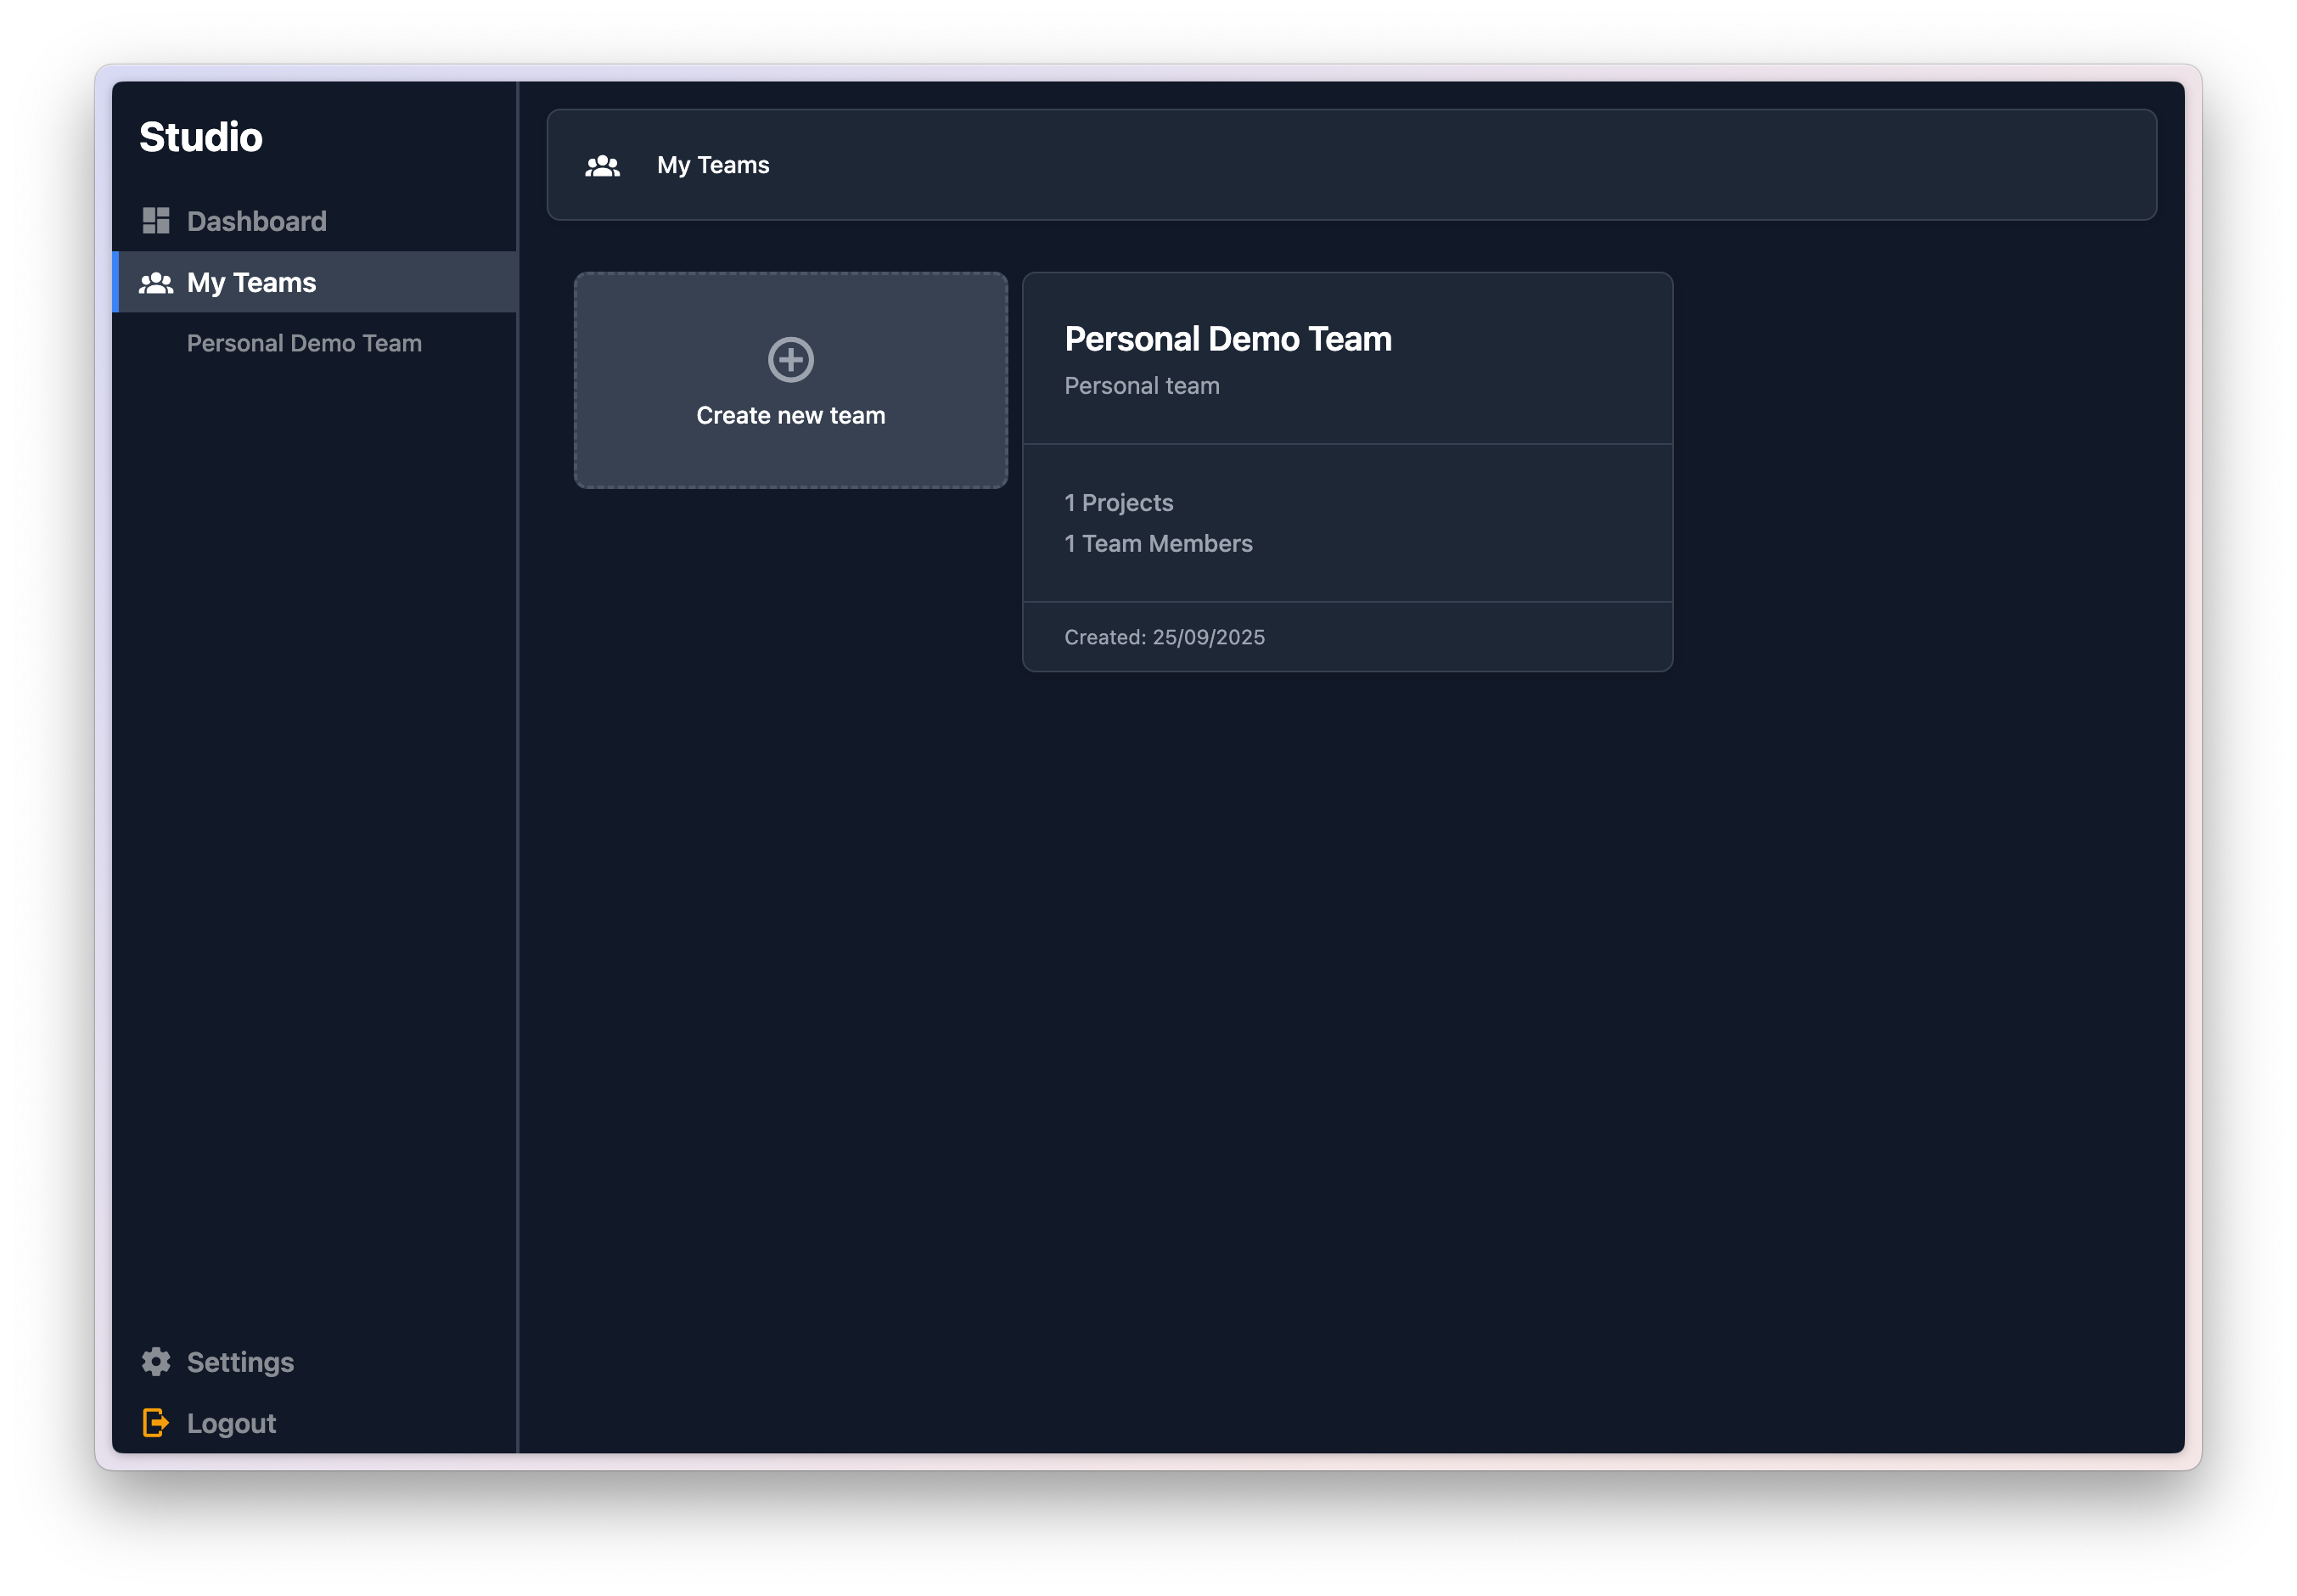
When you're creating a Team you'll need to set the name of your Team as well as pick a Team type. There are two types of Team in Studio Personal and Business. The primary difference between these is that Personal Teams can only have one member (they're meant for solo builders) and Business Teams can have multiple members. You can't change a Team type once a Team is created.
Create a Project
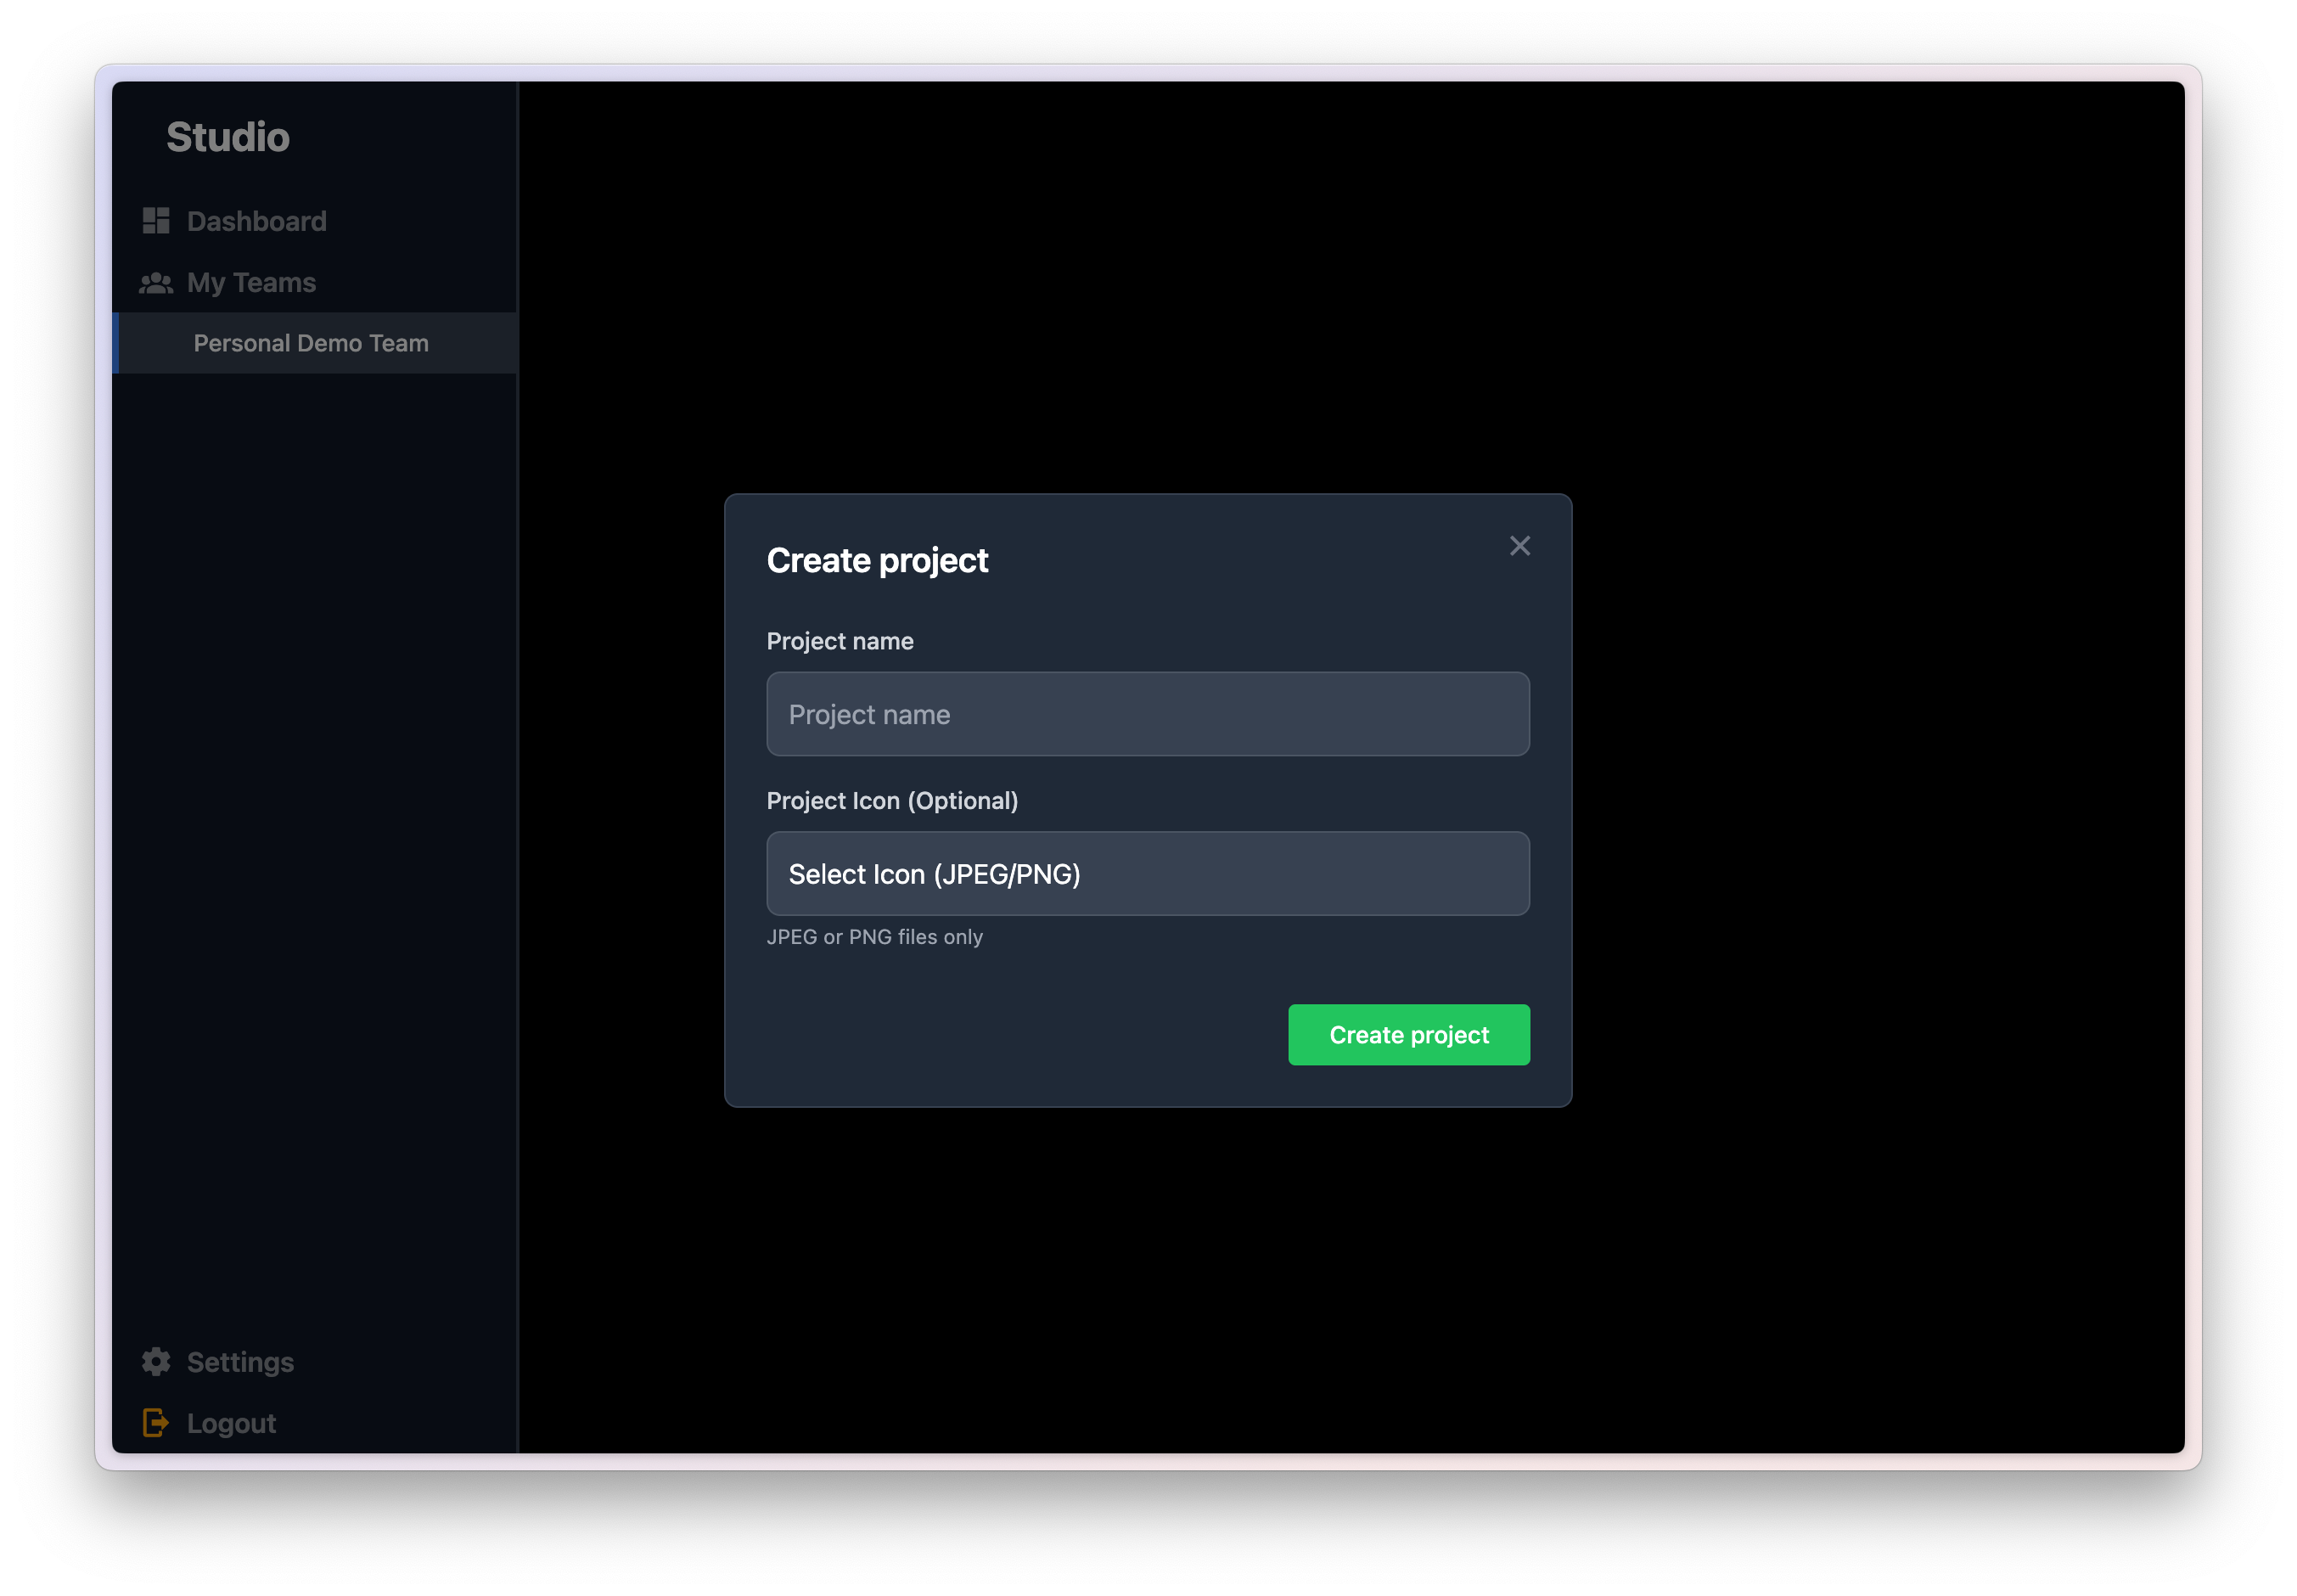
You can either create a Project by clicking on the Team you wish to create the Project for in the left hand navigation and then clicking the '+ Project' button within the Team view, alternatively, you can create a Project by clicking on the Creare Project button within the Team's section on your Dashboard.
When creating a new project you need give your Project a name and, optionally, you can set an icon for the project.
Create a Scene
With your Project now created you'll be directed in to the Scene's overview screen. From here you can see a list of the Scene's within your selected project and create a new Scene.
When creating a new Scene you need to give your Scene a name and, optionally, you can give your Scene a physical location. For now, you don't need to worry about providing any location details, this will tie to a location lock feature within ViroReact but that's not available within ViroReact yet.

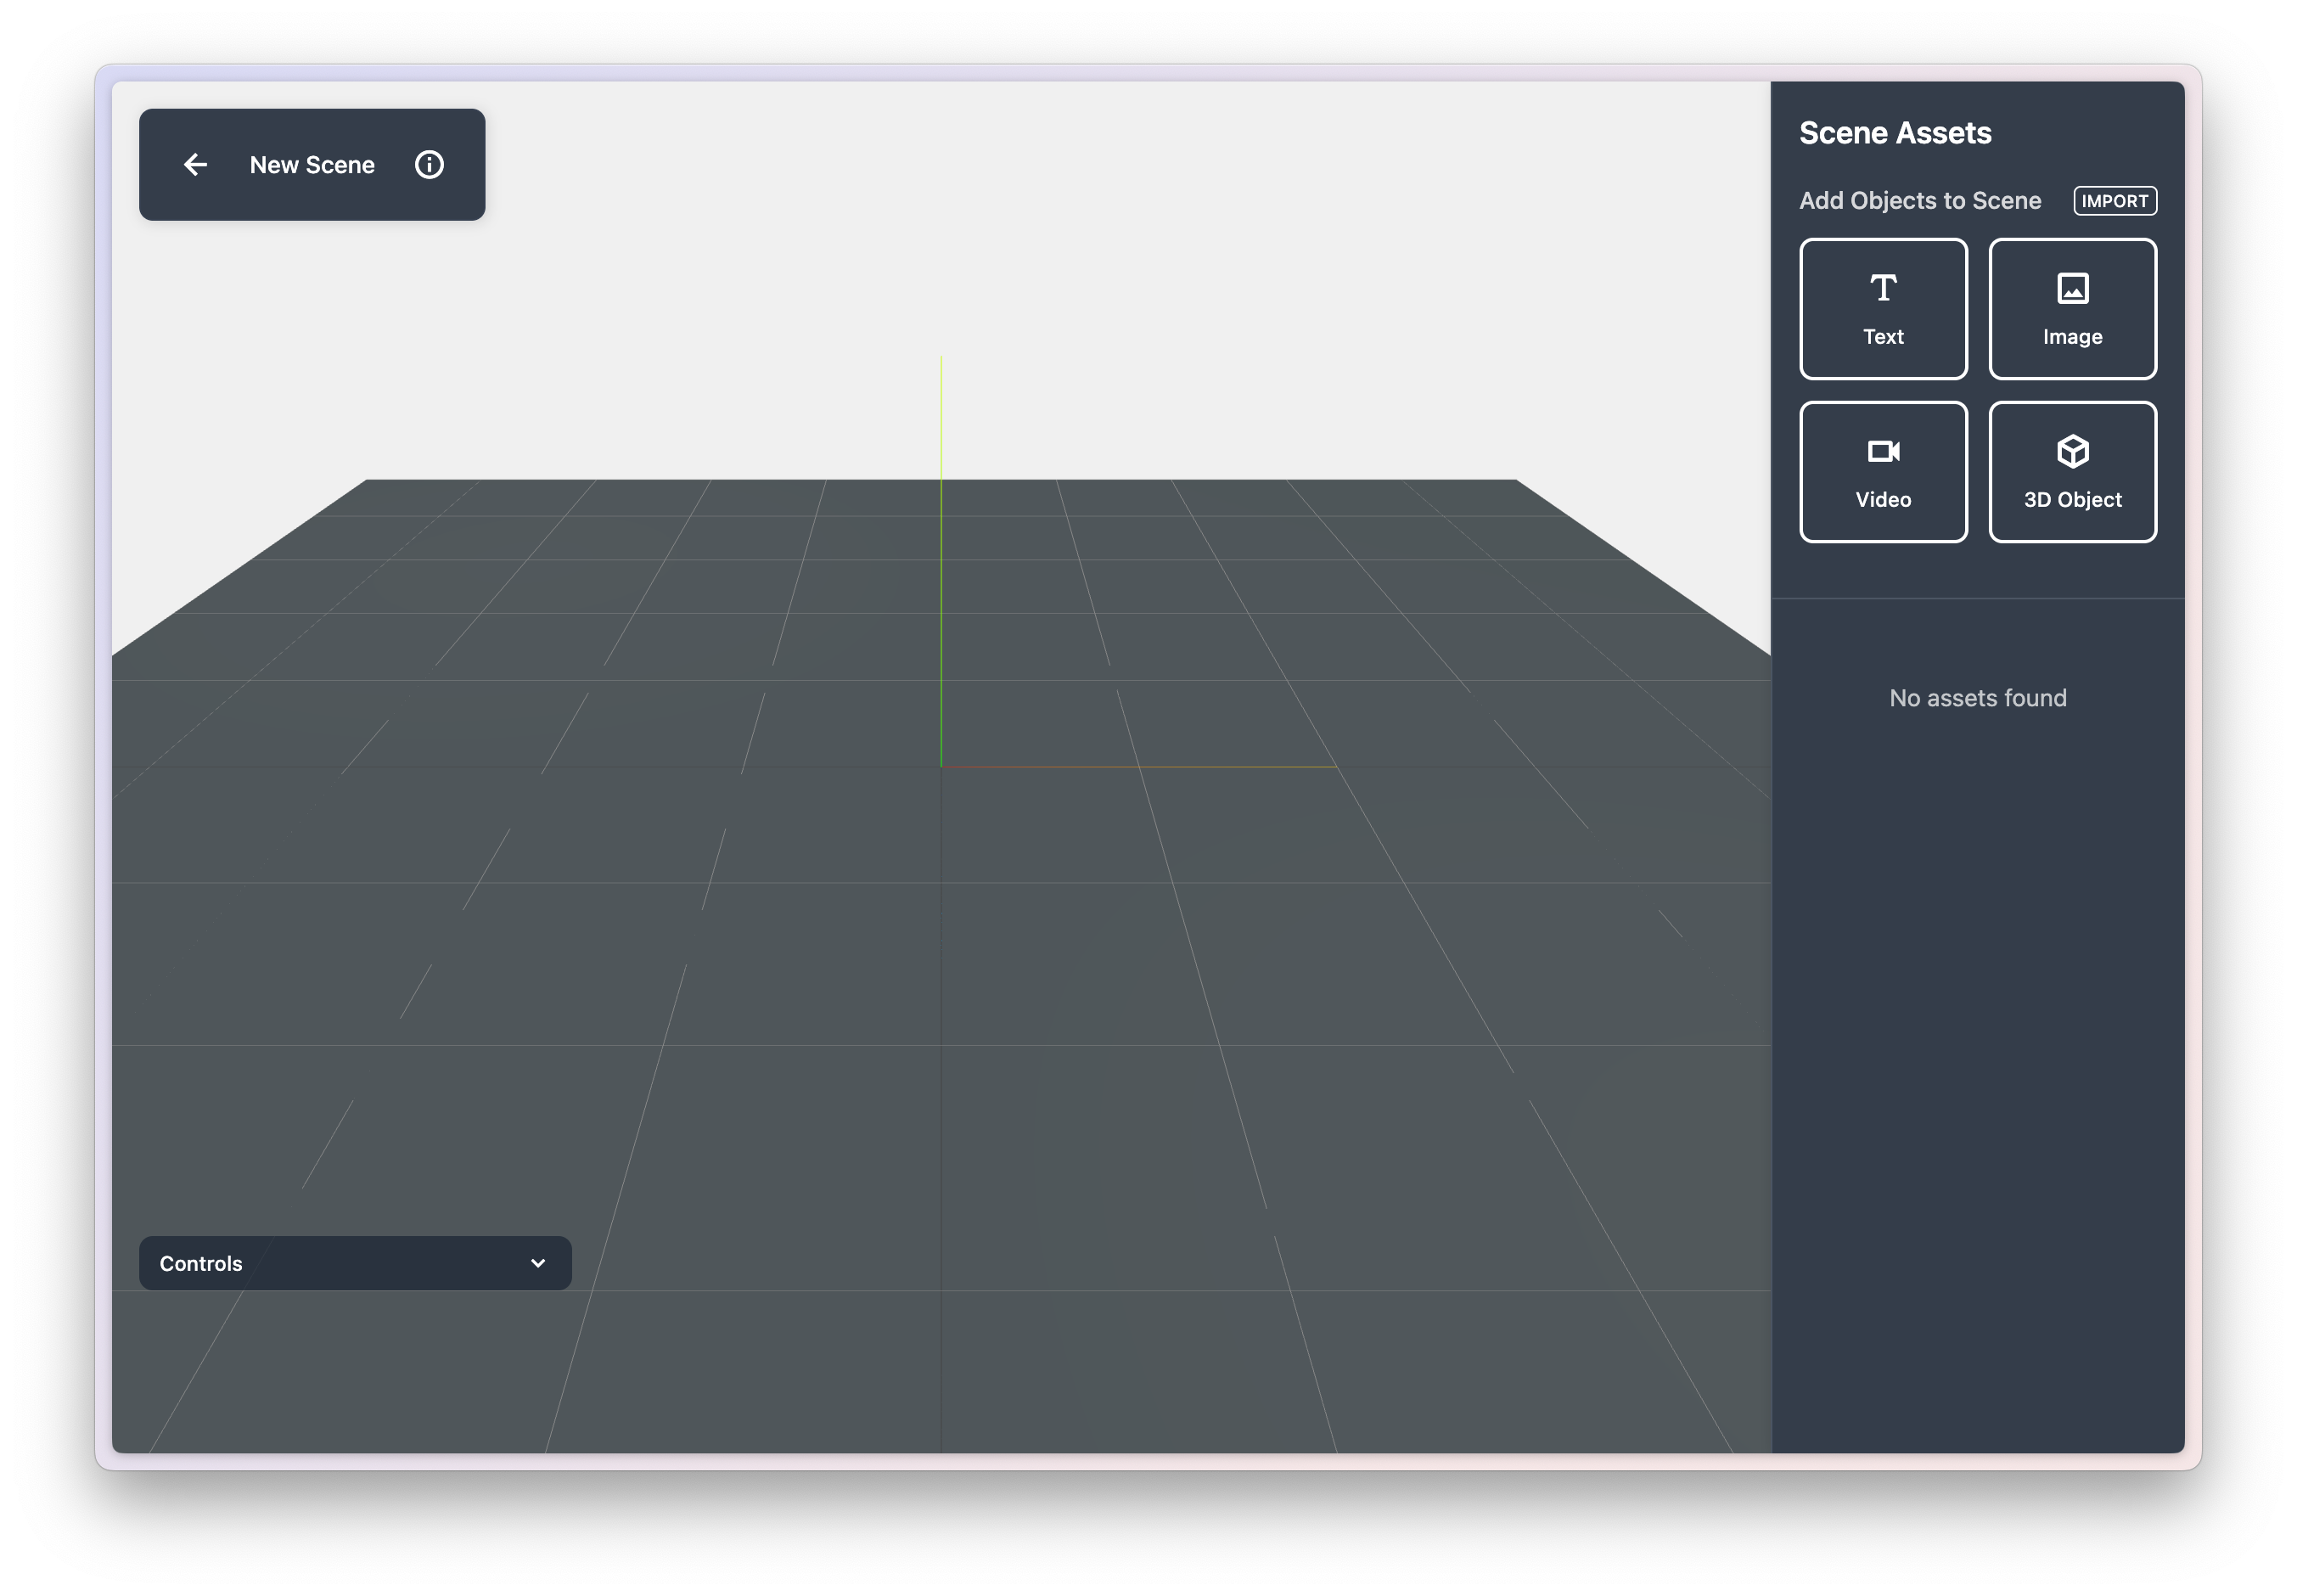
Scene Editing
When you open a Scene you'll be taken to Studio's Scene Editor. This is where the fun begins. You have a handful of tools you can use within the Scene Editor. Here's a breakdown of the key tools within Studio's Editor:
Import
This enables you to import assets from other Scene's and Project's within your organisation.
Video
Upload videos and load them into your AR/VR scene, Studio supports .mp4 videos.
Image
Upload images into your AR/VR scene, right now Studio supports .png and .jpeg formats.
Text
Create blocks of 3D text and place them within your Scene. All text is white, with more formatting features coming in future releases.
3D Object
Import 3D objects or create them using Studio's AI creation tool - if you can think it, you can prompt it and Studio will create it. Studio currently supports glb, .gltf, .obj, .fbx formats.
Asset Editor
Once an asset is added to your Scene, you can edit the asset's name, description, position, rotation and scale. Within the Asset Editor you'll also be able to see who created/imported the asset, the URL for the asset should you need to access it elsewhere, as well as have the option to delete the asset from the Scene.
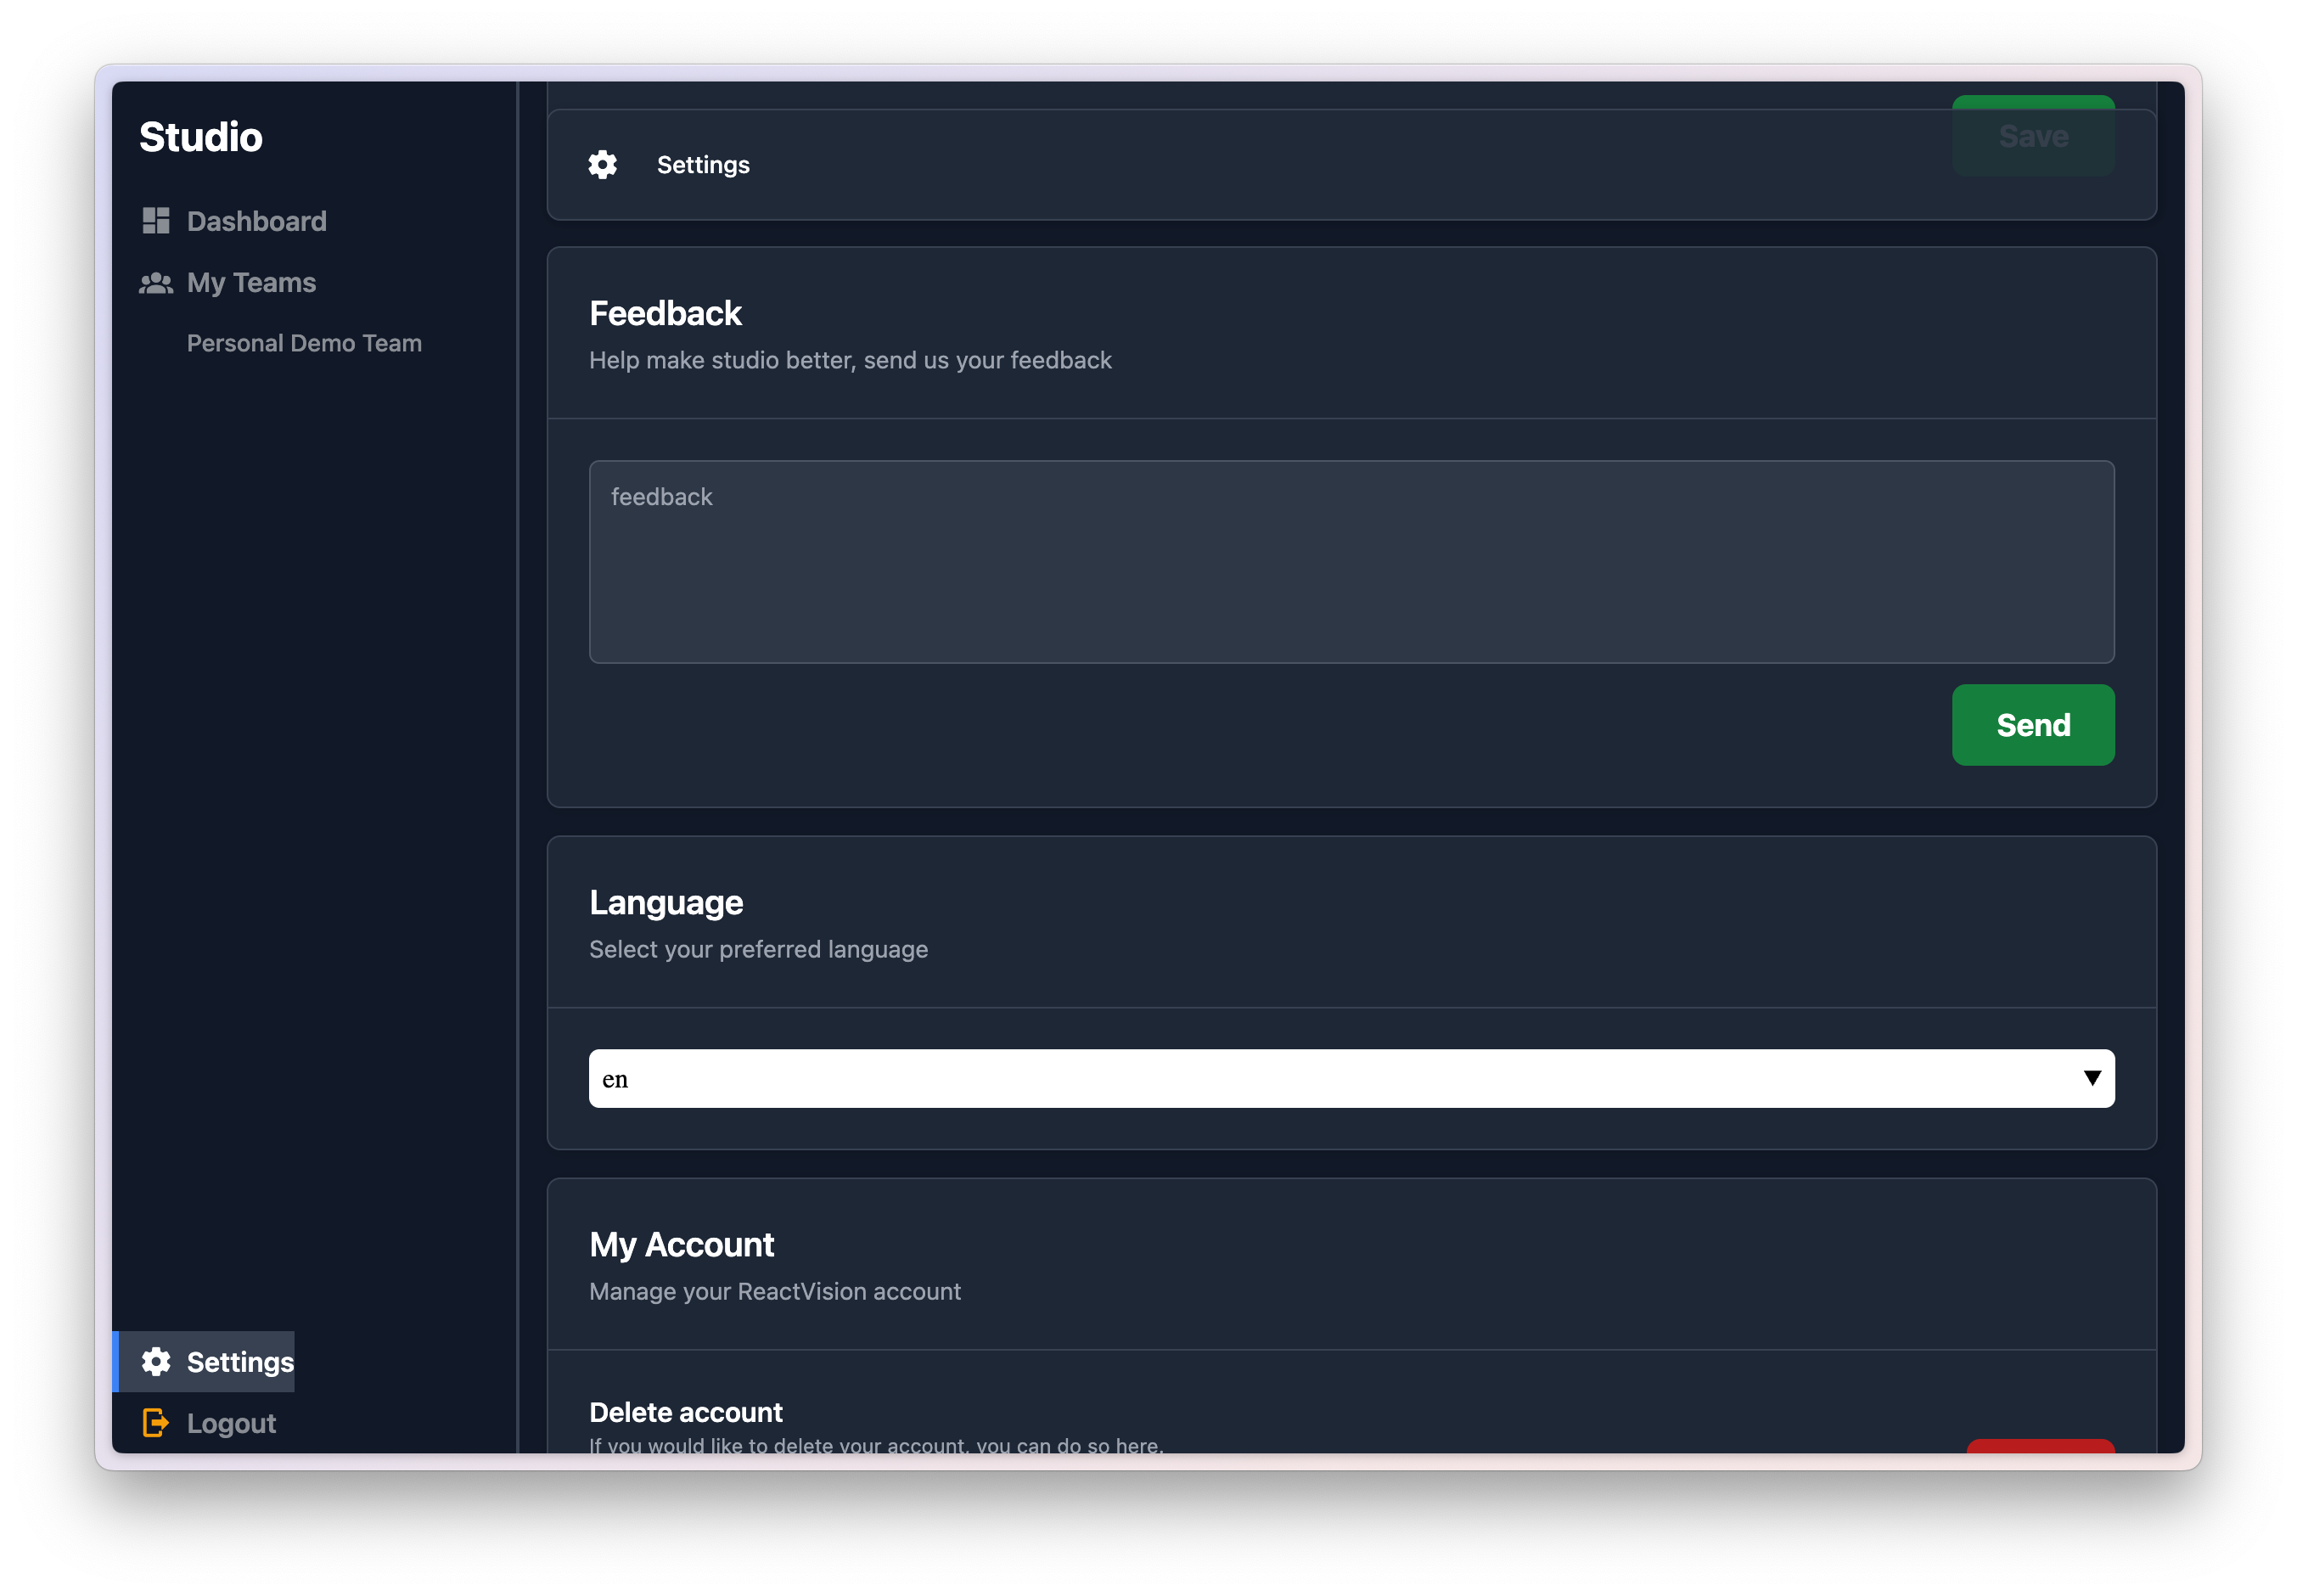
Providing Feedback
The last feature, and agurably the most important, we want to cover today is providing feedback. Within Settings (accessible from the left hand navigation) you'll find the a feedback form. From here you can provide as much feedback as you like/need and we do also support attachments should you need to provide screenshots.
Conclusion
So that's everything you need to know to get started with ReactVision Studio's first Alpha release. We'll doing a handful of smaller weekly releases to address feedback over the coming weeks while we work towards our second major Alpha release which will introduce our Studio Go companion app. Until then, please do keep the feedback coming and if you want to join our Alpha testing group you can do so here.