Custom Shaders and Geospatial Demos Just Landed in the ViroReact Starter Kit
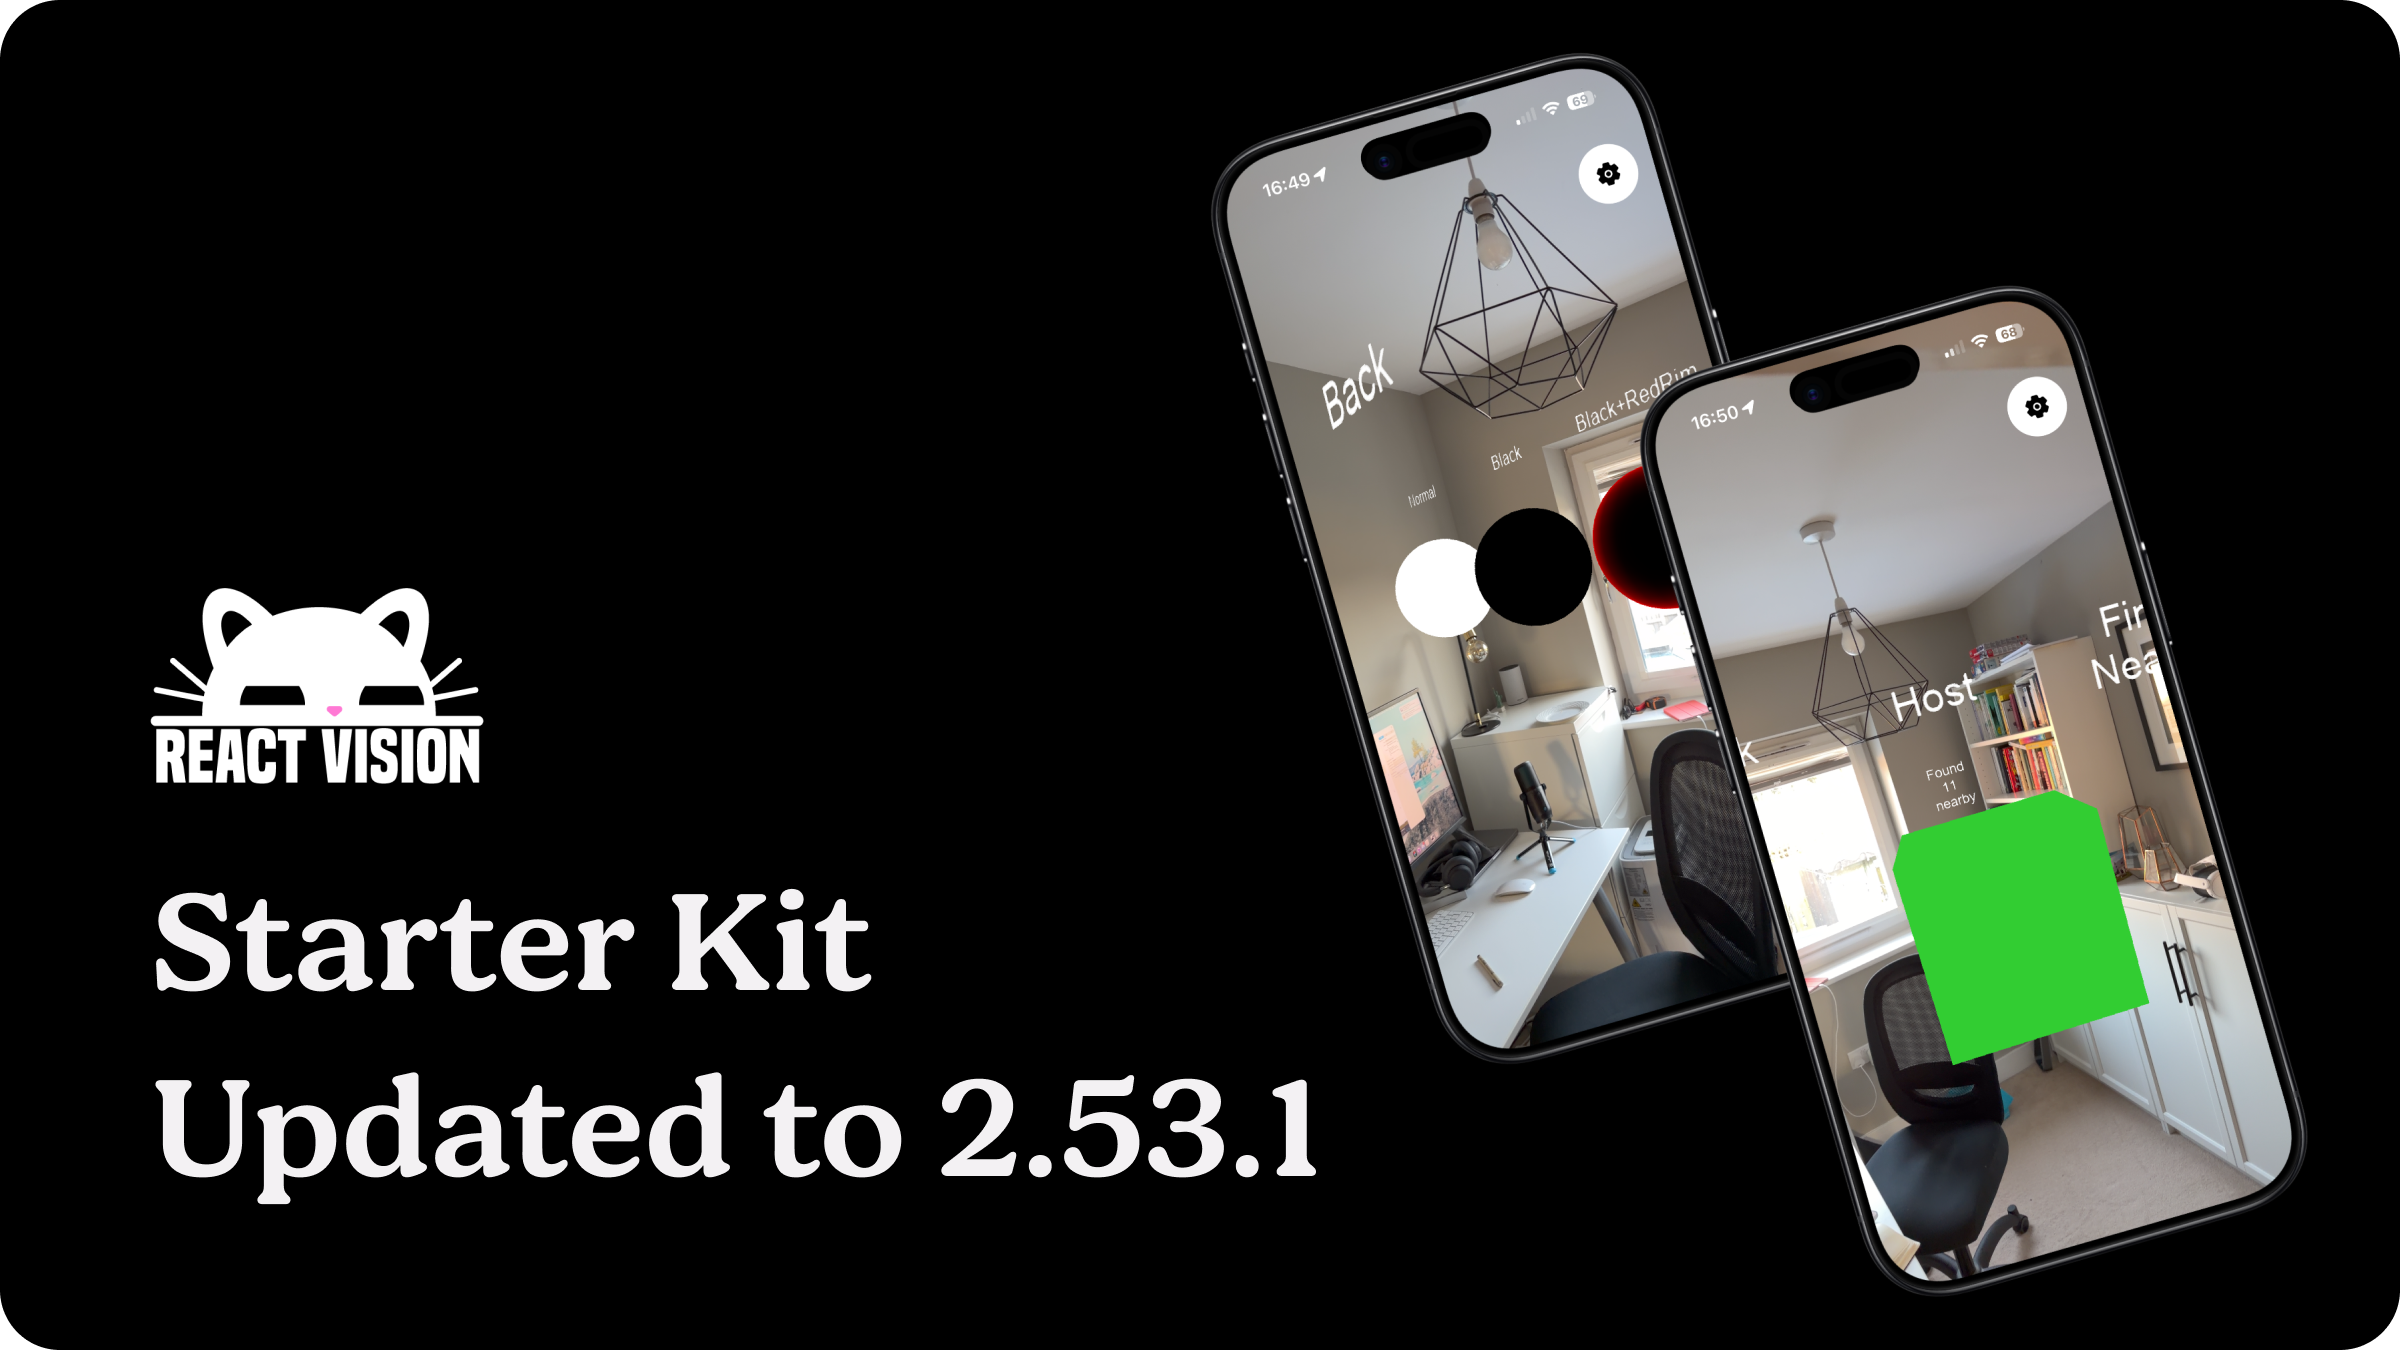
The ViroReact Expo Starter Kit has been updated to version 2.53.1, and it comes with two brand new demo scenes that showcase some of the most recent capabilities in ViroReact: custom shader modifiers and geospatial anchors.
If you are new to ViroReact, the starter kit is the fastest way to get up and running. It gives you a working project with example scenes you can explore, modify, and learn from. And with this update, those examples now cover significantly more ground.
Let us walk through what is new.
New Scene: Custom Shaders
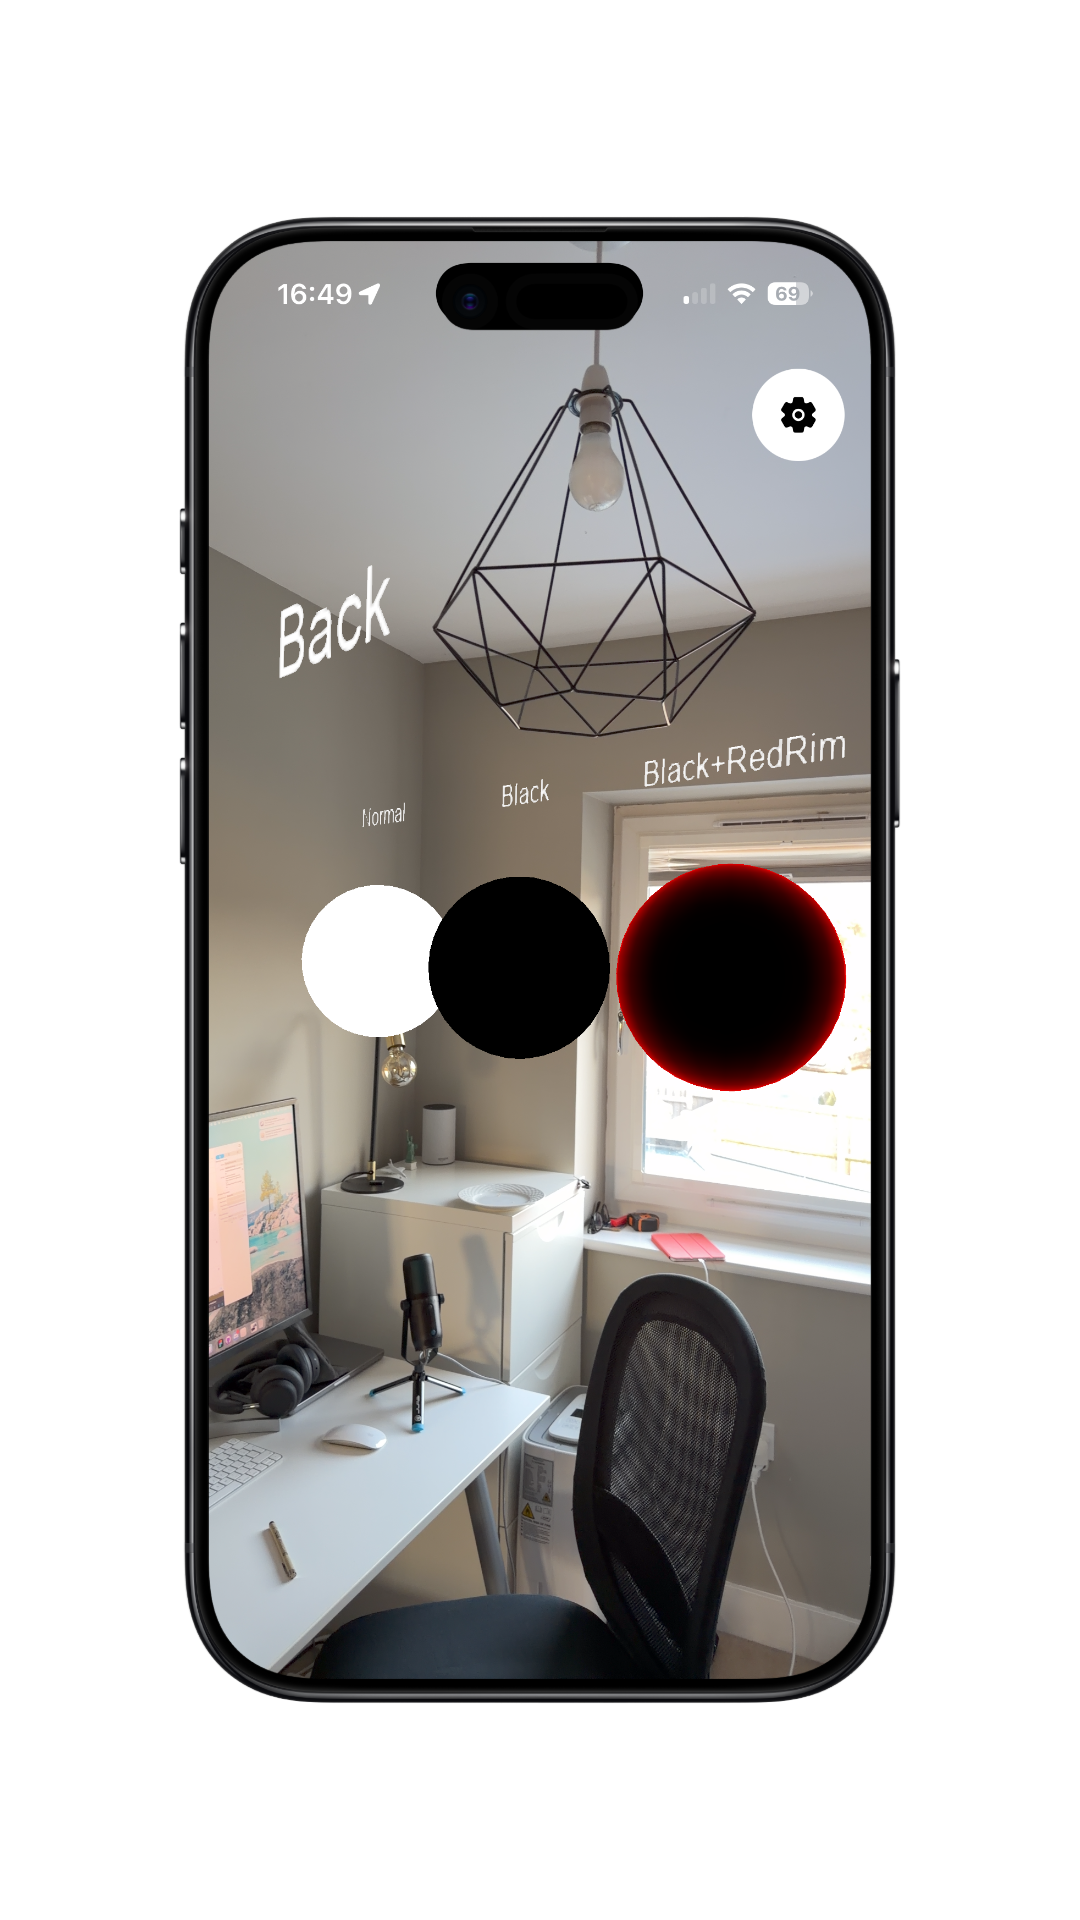
The new Shaders scene is a visual playground for one of ViroReact’s most powerful features: custom shader modifiers. If you have been curious about shaders but were not sure where to start, this demo gives you working code for several techniques you can study and adapt for your own projects.
The scene presents a series of spheres, each demonstrating a different shader technique:
Surface Modifiers override the diffuse colour of a material at render time. The demo includes a red rim lighting effect that glows at the edges of the sphere and an ocean water effect with animated colour shifts. These are defined using shaderModifiers in ViroMaterials.createMaterials() and they modify _surface.diffuse_color to achieve their look.
Geometry Modifiers manipulate vertex normals to change how light interacts with the surface. The crystal shell effect in the demo uses this to create a faceted, gem-like appearance by altering _geometry.normal.
Animated Uniforms bring everything to life. By passing a time uniform and updating it each frame with ViroMaterials.updateShaderUniform(), the demo drives pulsing, waving, and shifting effects that run in real time. This is the mechanism behind the animated ocean and glass materials.
Alpha Blending rounds out the techniques with transparent and glass-like materials that use blend modes for see-through effects.
Each sphere is lit by a ViroSpotLight so you can see how the shaders interact with dynamic lighting. It is a great reference if you are building anything that needs custom visual effects, whether that is holographic UI elements, stylised environments, or eye-catching product visualisations.
New Scene: Geospatial Anchors
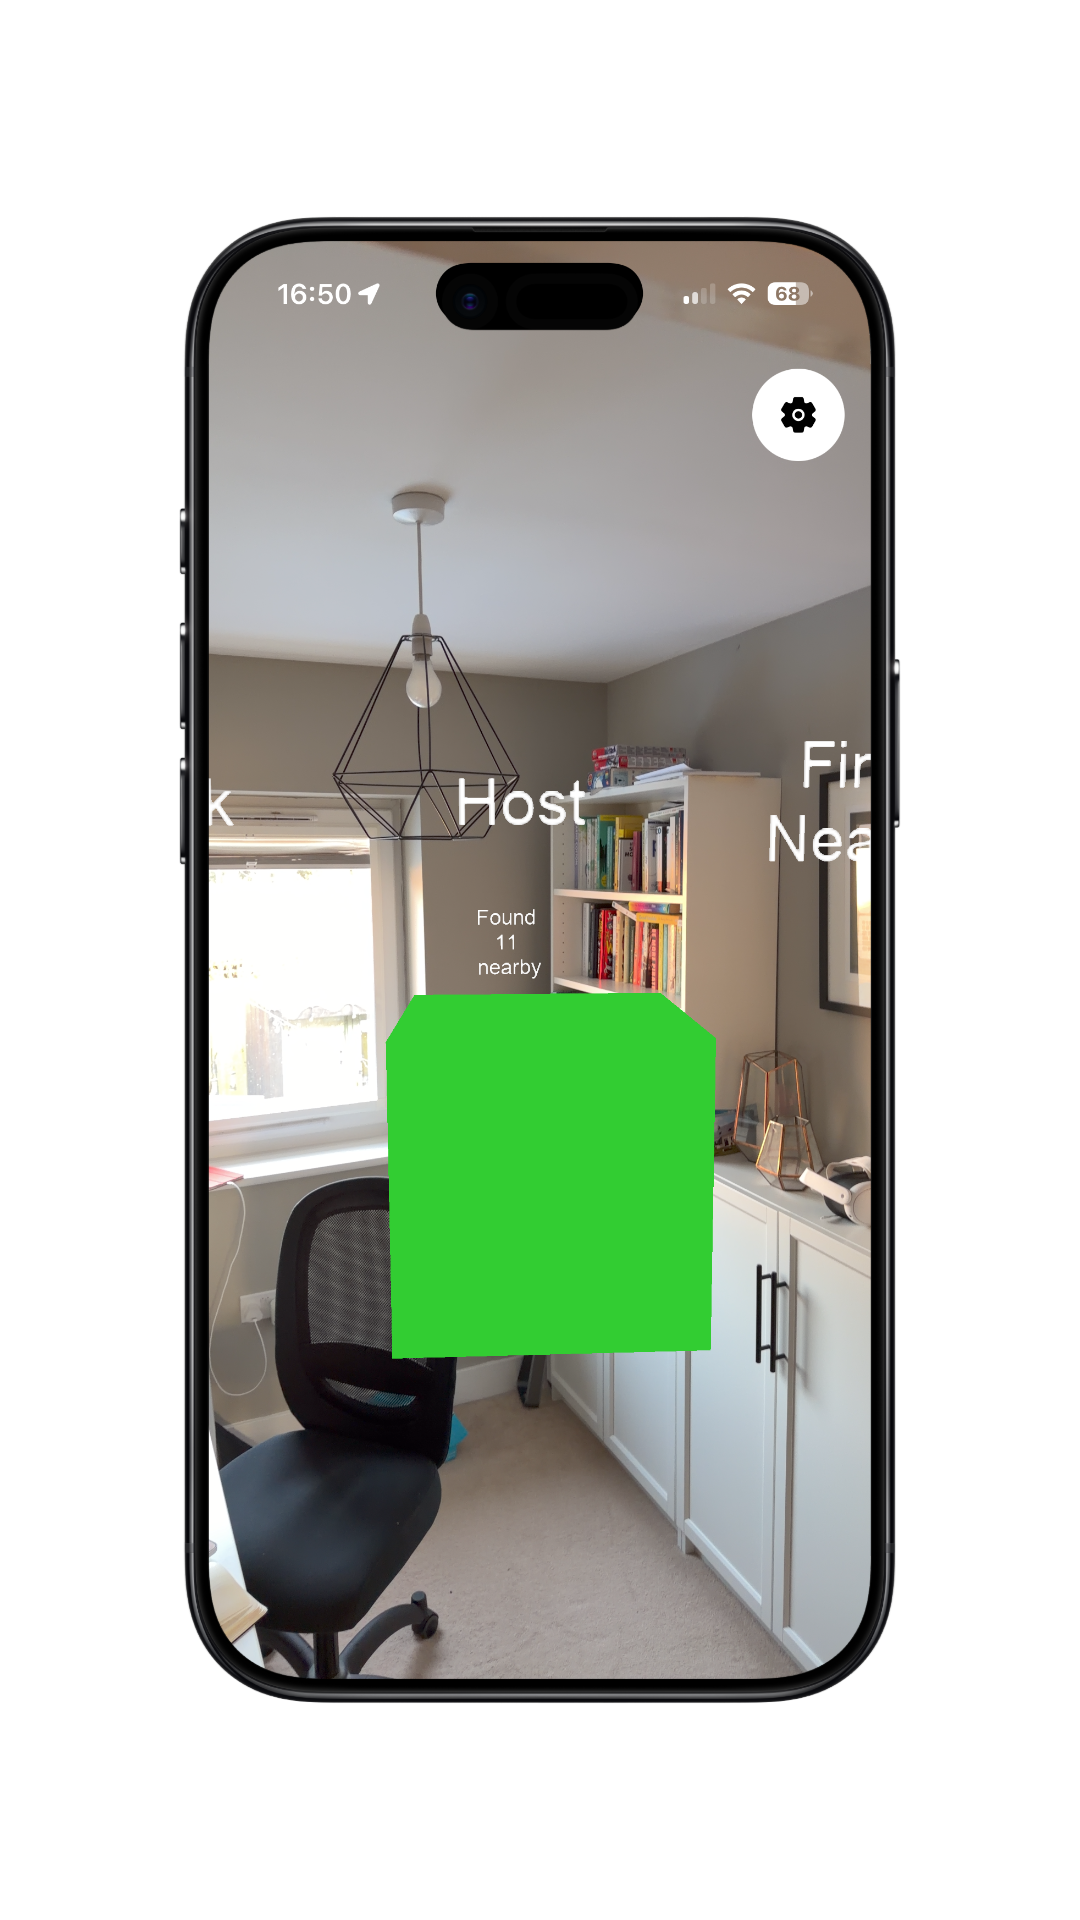
The second new scene demonstrates one of the headline features from the ReactVision Platform launch: geospatial anchors. This demo walks you through the full lifecycle of hosting and resolving geospatial anchors at real-world GPS coordinates.
The scene provides a simple interface with three actions:
Host creates a geospatial anchor at your current location. The demo reads your device’s pose altitude and uses street-level positioning to place the anchor. It waits for the AR session to warm up (about two seconds) and requires positional accuracy within 25 metres before hosting, ensuring the anchor is placed reliably.
Find Nearby discovers existing anchors within 500 metres of your current position using rvFindNearbyGeospatialAnchors. This is the discovery mechanism that powers location-based AR experiences, letting your users find content that others have placed in the real world.
Pose and status information is displayed as ViroText throughout the scene so you can see exactly what the device is reporting, making it a useful debugging and learning tool as well as a demo.
To run this scene, you will need a physical device (not a simulator), location permissions, an internet connection, and your ReactVision provider configured in app.json with your rvApiKey and rvProjectId. If you do not have a Studio account yet, you can sign up for free at studio.reactvision.xyz.
Getting Started
The updated starter kit is available now. If you already have it cloned, pull the latest changes and update your dependencies. If you are starting fresh, head to the ViroReact documentation for setup instructions.
Whether you are experimenting with shaders for the first time or building your first location-based AR feature, these new demo scenes give you a solid starting point with real, working code. Clone the starter kit, run the scenes on your device, and start building.