Getting Started with Cloud Anchors in AR
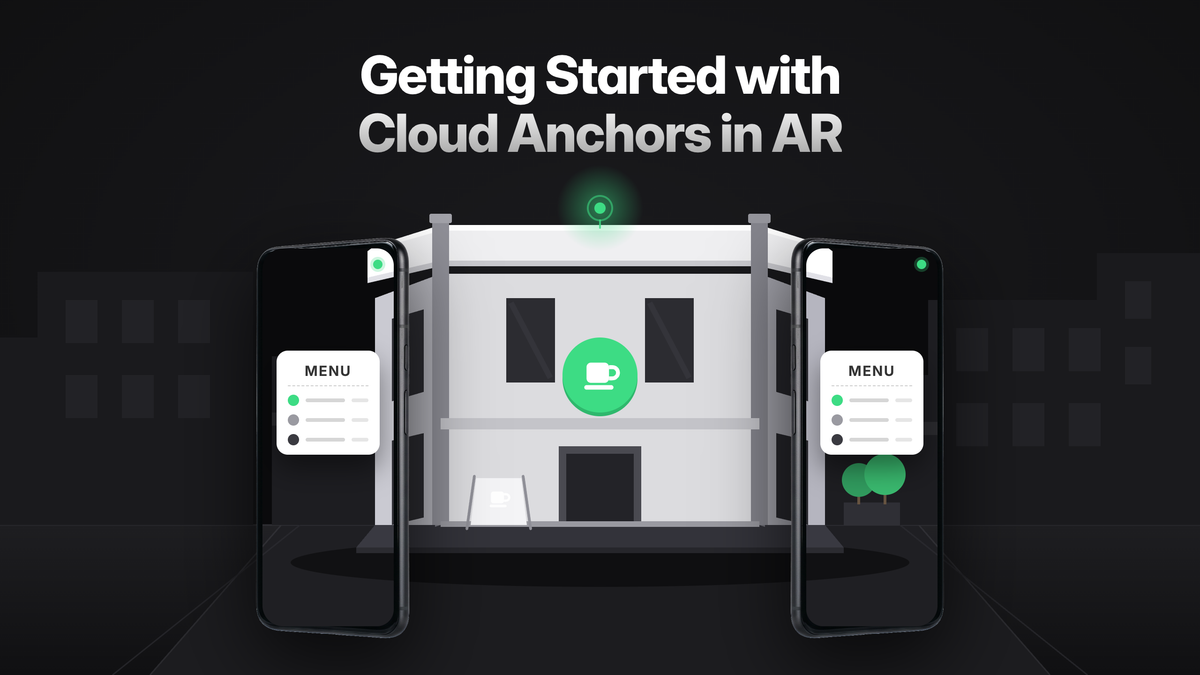
In XR we talk a lot about Cloud Anchors and Geospatial Anchors, so much so that people often get the two confused (which is why we published this guide on what they are and how to use them).
We’ve already published a great guide for getting started with Geospatial Anchors, so in this guide we’re going to focus on Cloud Anchors. We’ll quickly cover what they are and when to use them before diving in to understand how to use them.
What are Cloud Anchors?
A regular AR anchor pins virtual content to a point in the real world, but it only exists on the device that created it. A Cloud Anchor takes that same anchor and hosts it in the cloud: the device scans the visual features around the anchor, uploads them, and gets back a cloud anchor ID. Any other device with that ID can then resolve the anchor and place content in exactly the same real-world spot, with sub-centimetre accuracy in good conditions.
Why use Cloud Anchors?
Cloud Anchors are the building block for any shared or persistent AR experience. Two people standing in the same room can see the same 3D object in the same place, each through their own device. And because hosted anchors can persist for up to 365 days, a user can come back tomorrow, or on a different phone, and find the content exactly where it was left.
That unlocks multiplayer AR games, collaborative design reviews, in-store activations, and museum or venue installations. If you want to pin content to coordinates on the Earth instead (a latitude, longitude and altitude rather than a scanned spot), that is a job for Geospatial Anchors, and our comparison guide covers when to use which.
How to build a shared AR experience with Cloud Anchors
This is the good bit. We are going to build the simplest possible multi-user experience: one device places a 3D box on a surface and hosts it, a second device resolves it, and both see the same box in the same spot.
The flow is always the same three steps: host on one device, share the cloud anchor ID, resolve on the other.
1. Set up your project
Create an Expo project and add the ViroReact package:
npx create-expo-app cloud-anchors-demo
cd cloud-anchors-demo
npm install @reactvision/react-viro
AR needs native ARKit and ARCore modules, so this will not run in Expo Go: you will be making a development build and running it on a real device. If this is your first ViroReact project, the Expo integration guide walks through the full setup, or you can clone our Starter Kit and skip ahead.
Cloud Anchors are powered by ReactVision Platform, so you will also need a Studio account, a project ID and an API key, all free. The guide on getting those is here: https://viro-community.readme.io/docs/reactvision-studio-setup
Then add your credentials to the ViroReact plugin in app.json:
{
  "expo": {
    "plugins": [
      [
        "@reactvision/react-viro",
        {
          "rvApiKey": "YOUR_REACTVISION_API_KEY",
          "rvProjectId": "YOUR_REACTVISION_PROJECT_ID"
        }
      ]
    ]
  }
}
Rebuild and run on your device:
npx expo prebuild --clean
npx expo run:ios
# or
npx expo run:android
2. Host an anchor on the first device
The first user taps a detected surface to place a box, and we host that anchor to the cloud with hostCloudAnchor. A successful host returns a cloudAnchorId:
import React, { useState } from "react";
import {
  ViroARScene,
  ViroARSceneNavigator,
  ViroARPlaneSelector,
  ViroBox,
  ViroMaterials,
} from "@reactvision/react-viro";

ViroMaterials.createMaterials({
  sharedBox: { diffuseColor: "#3ddc84" },
});

function HostScene({ sceneNavigator }) {
  const [isHosting, setIsHosting] = useState(false);

  const handlePlaneSelected = async (anchor) => {
    if (isHosting) return;
    setIsHosting(true);

    const result = await sceneNavigator.hostCloudAnchor(anchor.anchorId, 1);

    if (result.success && result.cloudAnchorId) {
      // Share this ID with the second device
      console.log("Cloud Anchor ID:", result.cloudAnchorId);
    } else {
      console.error("Hosting failed:", result.error);
    }
    setIsHosting(false);
  };

  return (
    <ViroARScene>
      <ViroARPlaneSelector onPlaneSelected={handlePlaneSelected}>
        <ViroBox
          position={[0, 0.05, 0]}
          scale={[0.1, 0.1, 0.1]}
          materials={["sharedBox"]}
        />
      </ViroARPlaneSelector>
    </ViroARScene>
  );
}

export default function App() {
  return <ViroARSceneNavigator initialScene={{ scene: HostScene }} />;
}
The second argument to hostCloudAnchor is the time-to-live in days, from 1 to 365. Hosting works best when the device has seen the space properly, so move the phone around the anchor a little before hosting, and pick a spot with good lighting and plenty of visual features.
3. Share the cloud anchor ID
The cloudAnchorId is just a string, so getting it to the second device is up to you: your own backend, Firebase, a QR code, or, while you are testing, simply logging it on one device and pasting it into the other.
4. Resolve the anchor on the second device
The second device calls resolveCloudAnchor with the shared ID and places the same box at the resolved position:
import React, { useEffect, useState } from "react";
import { ViroARScene, ViroBox, ViroNode } from "@reactvision/react-viro";

function ResolveScene({ sceneNavigator }) {
  const [position, setPosition] = useState(null);
  const cloudAnchorId = "PASTE_THE_SHARED_ID_HERE";

  useEffect(() => {
    const resolve = async () => {
      const result = await sceneNavigator.resolveCloudAnchor(cloudAnchorId);
      if (result.success && result.anchor) {
        setPosition(result.anchor.position);
      } else {
        console.error("Resolving failed:", result.error);
      }
    };
    resolve();
  }, []);

  return (
    <ViroARScene>
      {position && (
        <ViroNode position={position}>
          <ViroBox
            position={[0, 0.05, 0]}
            scale={[0.1, 0.1, 0.1]}
            materials={["sharedBox"]}
          />
        </ViroNode>
      )}
    </ViroARScene>
  );
}
And that is it. Both devices are now looking at the same box, anchored to the same point in the same real room.
Conclusion
Of course this is just a simple guide to get you started, but as you will hopefully see, the possibilities are endless. We’re excited to see what you build with Cloud Anchors.