How To Build Your First AR & VR App With Studio and React Native
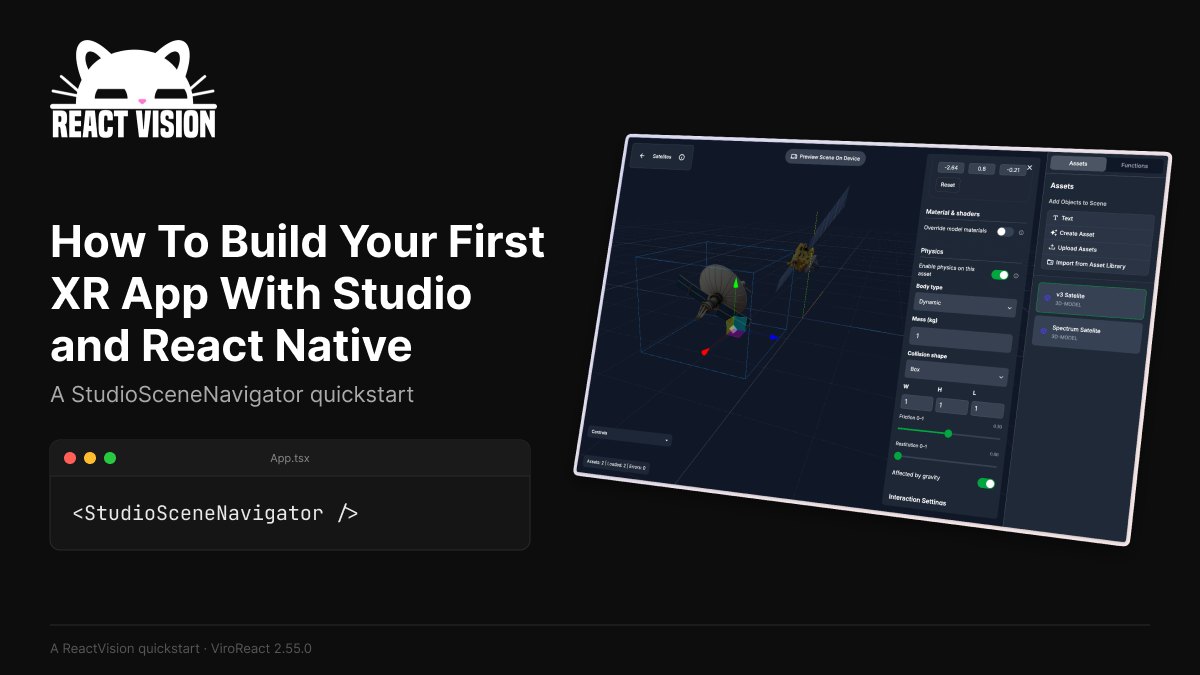
ReactVision Studio lets you build XR scenes visually, in your browser. With ViroReact 2.55.0, you can drop one of those scenes straight into a React Native app with a single component, StudioSceneNavigator, and ship it to iPhone, Android, or Meta Quest from the same codebase. In this post we'll walk through the quickest path to getting started: set up a Studio scene, wire it into a fresh Expo app, and run it on a device.
If you’ve never used Studio before, it’s our browser-based editor for AR and VR. You arrange 3D models, image triggers, animations, and scene logic on a canvas, and Studio stores the result on the ReactVision Platform so any of your apps can pull it down. StudioSceneNavigator is the bridge between that scene and a real running app.
What you’ll need
A handful of things, none of them exotic:
- A free Studio account. Sign up here
- A device to test on: an iPhone, an Android phone or tablet, or a Meta Quest (2, 3, 3S, or Pro) in Developer Mode.
- Node 20+, the Expo CLI, and the platform toolchain for whichever target you’re building to (Xcode for iOS, Android Studio for Android).
No Unity, no Unreal, no native knowledge.
1. Set up a scene in Studio
Open Studio and sign in. The first time you log in, Studio will ask you to create a team. Give it a name, and you’re in.
From there:
- Create a project. This is the unit of work that maps to a single app. Name it whatever you like.
- Create a scene inside that project. A scene is one immersive view: think of it as the thing the user sees when they open your app.
- Add an asset. Drag a 3D model in from your machine, or use Create Asset if you don’t have anything to hand. That route uses the platform’s AI 3D generation to turn a text prompt or reference image into a model you can place straight onto the canvas.
- Lay it out. Drop the asset into the scene, position it, and save.
Once the scene is saved, head to your project settings and grab two values: your project ID, and an API key for that project. We’ll wire both into the React Native app in a moment. If you need a hand finding them in Studio, this short walkthrough on YouTube covers it:
2. Create a clean Expo app
Start from a fresh template so we know the project state is good:
npx create-expo-app@latest my-studio-app --template blank-typescript
cd my-studio-app
This gives you a standard Expo project on the latest SDK, with TypeScript pre-configured.
3. Add ViroReact
Install the package:
npm install @reactvision/react-viroMake sure you’re on 2.55.0 or later. That’s the release that introduced StudioSceneNavigator.
4. Configure the Expo plugin
Open app.json (or app.config.ts if you prefer TypeScript) and add ViroReact to the plugins array, with your Studio credentials inline:
{
  "expo": {
    "name": "my-studio-app",
    "slug": "my-studio-app",
    "newArchEnabled": true,
    "plugins": [
      [
        "@reactvision/react-viro",
        {
          "rvApiKey": "YOUR_RV_API_KEY",
          "rvProjectId": "YOUR_RV_PROJECT_ID",
          "android": {
            "xRMode": ["AR", "QUEST"]
          }
        }
      ]
    ]
  }
}
A few notes on this:
rvApiKeyandrvProjectIdare the two values you grabbed from Studio. The plugin bakes them into the native build soStudioSceneNavigatorcan fetch your scene at runtime. There's no need to pass them in JS.xRModecontrols which XR targets get compiled in.["AR"]is fine for an AR-only build;["AR", "QUEST"]gives you a single APK that runs as AR on phones and immersive VR on Quest. Quest VR requires Expo SDK 55 / React Native 0.83; below that, stick to AR.newArchEnabled: trueis non-negotiable. ViroReact's plugin requires React Native's New Architecture (Fabric). Fresh Expo projects have it on by default, but double-check before continuing.
5. Add StudioSceneNavigator to your app
Replace the contents of App.tsx with this:
import React from "react";
import { StyleSheet, View } from "react-native";
import { StudioSceneNavigator } from "@reactvision/react-viro";
export default function App() {
return (
<View style={styles.container}>
<StudioSceneNavigator
autofocus
onExitViro={() => {
// Fires when the user exits VR via the B button on Quest
// or your scene calls exitVRScene(). Wire this to your
// panel navigation when you build a real app.
}}
style={styles.scene}
/>
</View>
);
}const styles = StyleSheet.create({
container: { flex: 1 },
scene: { flex: 1 },
});That’s the entire app. A few things worth pointing out:
- We’re not passing a
sceneId. When you omit it,StudioSceneNavigatorreads the project ID from the Expo plugin config and loads that project's opening scene automatically. If you want a specific scene instead, passsceneId="..."and it'll fetch that one directly. autofocusis the camera-autofocus flag for the AR session on phones. On Quest it has no effect.onExitViroonly fires on Quest, when the user leaves the immersive session. On phones the AR view stays mounted, so you don't strictly need it there, but it doesn't hurt to wire it up now.
The navigator handles the rest: fetching the scene tree, downloading assets, registering animations and materials, and rendering as AR on iOS / non-Quest Android, or as VR on Quest.
6. Prebuild the native project
npx expo prebuild --cleanThis generates the android/ and ios/ directories, drops the ViroReact native modules in, and writes the Quest VRActivity (if you've included "QUEST" in xRMode).
7. Run it
For iOS:
npx expo run:iosFor Android:
npx expo run:androidFor Quest, build a release APK and sideload it with adb install. We won't repeat the full walkthrough here; the Quest quickstart covers it end-to-end.
When the app launches, you should see your Studio scene rendered live: anchored to the world on phones, or surrounding you in VR on Quest. Edit the scene in Studio, rebuild, and the changes flow straight through.
What to try next
The point of this walkthrough is to prove the pipeline end-to-end. From here, the obvious next moves:
- Edit the scene in Studio while the app’s running. Trigger a rebuild and the new layout, assets, and animations flow through without touching
App.tsx. This is the workflow Studio is built for. - Add more scenes. A Studio project can hold as many scenes as you like. Pass a
sceneIdprop to load a specific one, or use Studio's scene-function nodes (NAVIGATION,ALERT,ANIMATION) to drive transitions from inside the scene itself. - Attach Cloud or Geospatial Anchors. Once you’ve got a scene rendering, the Cloud Anchors and Geospatial Anchors guides take you the rest of the way to shared, persistent, location-anchored AR.
- Ship the same app to AR and VR. With
["AR", "QUEST"]inxRMode, a single APK runs as AR on a phone and VR on a Quest. The Studio scene comes along for the ride;StudioSceneNavigatorpicks the right rendering path at runtime.
If you hit anything strange along the way, open an issue on GitHub or find us on Discord. And if you build something, anything, please share it. We love seeing what people make once the friction drops out of XR development.