Environment rendering in Studio: New render for real-room review
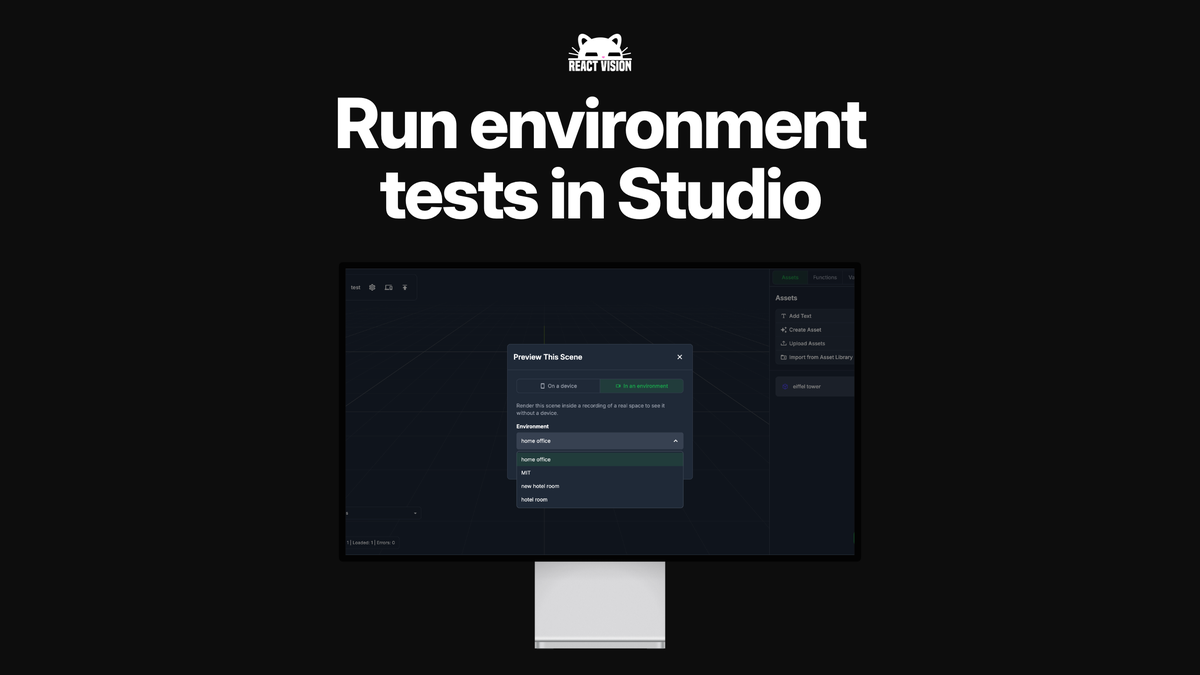
Environment rendering used to mean talking to the ReactVision MCP. That path is still there for agents and those building inside their IDE. Today we're giving Studio users the ability to utilise environment testing for their scenes built in Studio.
You can start a render two ways: from the project's Environment Renders list (New render), or from inside a scene via Preview Scene On Device → Preview This Scene → In an environment. Pick an environment, hit Render, and Studio composites your scene into a recorded AR session. You get a video you can review without standing in the room again, and without wiring up MCP for that job.
Why this matters
AR breaks in the room, not in the editor. You place something in a warehouse on Tuesday. On Thursday you are on a train wondering whether the logo still sits on the shelf.
An environment is a recorded AR session in your team's library: camera video plus poses. StudioGo captures them; Studio stores them on the project. Environment rendering replays that session on the server and composites your Studio scene (or shared assets) into it.
Until now, the only way to test a Studio scene was through StudioGo. This is great but it limits your testing to where you are now. What if you're building for a specific space and you're currently on a train? Now you can utilise environment testing the same way agents and MCP users can.
What you need
- A Studio project with at least one environment in the library
- A scene (or assets) you want to test in that environment
- Credits on the team plan (a render costs 50 credits; failed runs refund automatically)
Quick guide: render from a scene
If you are already editing a scene, this is the fastest path.
1. Open Preview This Scene
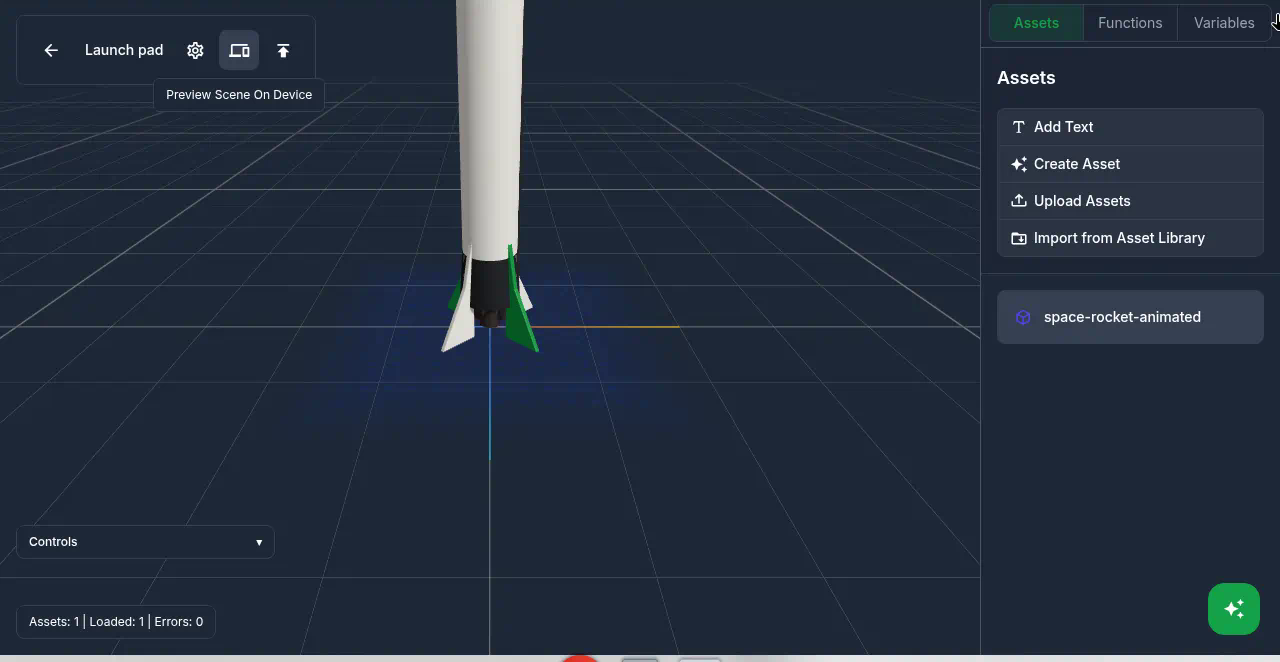
In the scene editor, click Preview Scene On Device (the laptop and phone icon in the top bar).
2. Switch to In an environment
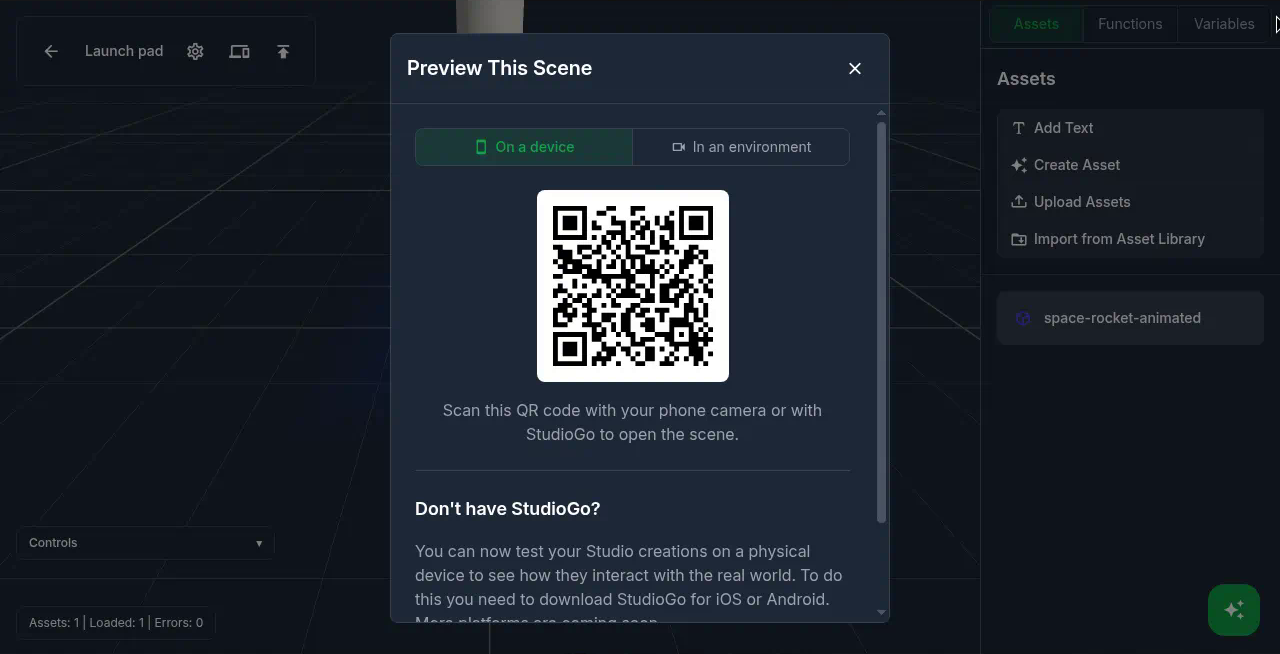
The Preview This Scene modal opens on On a device (QR / StudioGo). Switch to In an environment.
3. Pick an environment and render
Choose an Environment from your project library (for example home office, MIT, hotel room), then hit Render (50 credits).
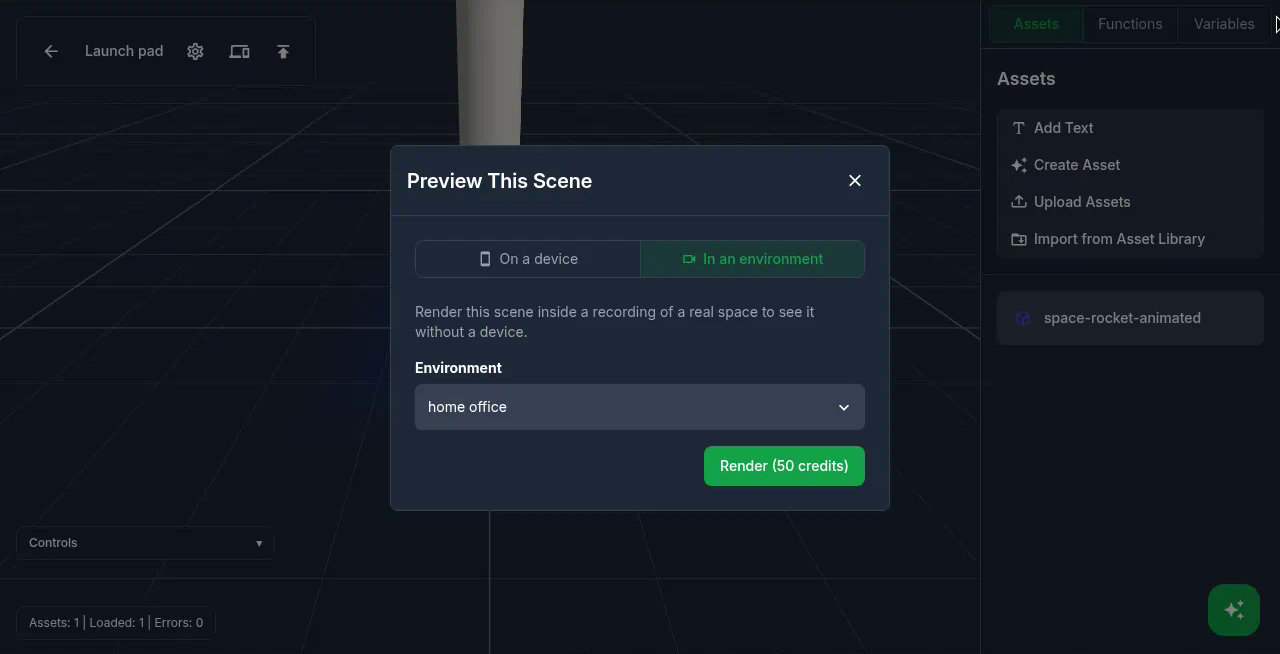
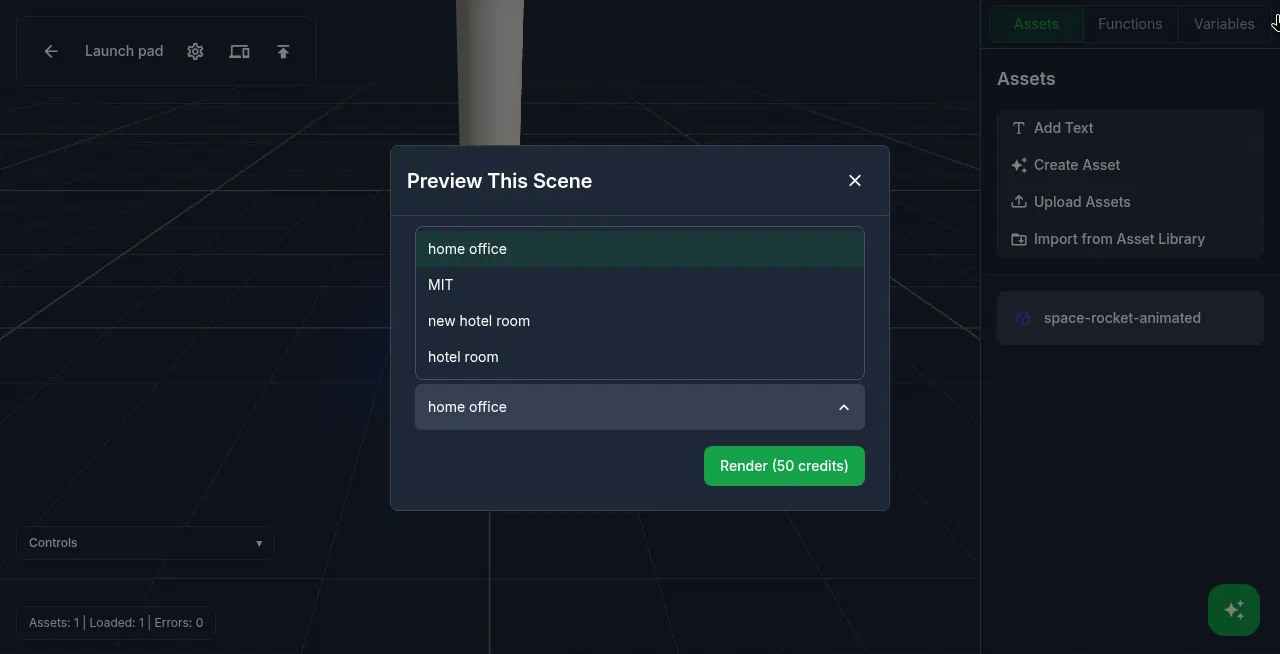
Studio queues the job against your team's credits. When it finishes, the result shows up on the project's Environment Renders list so you can watch it again later. If the run fails, the credits for that attempt are refunded.
Alternative: New render from Environment Renders
1. Open Environment Renders
In Studio, open your project. In the project nav, open Environment Renders.
You will see past renders for the project, plus New render.
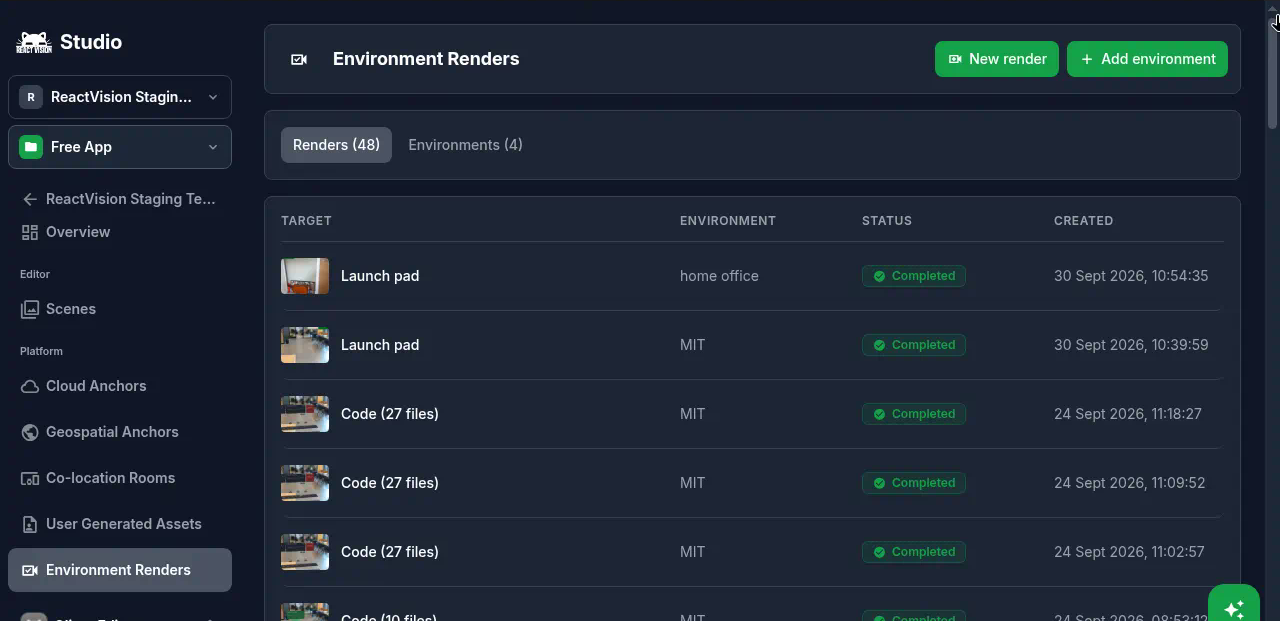
2. Start a New render
Click New render. Choose:
- Environment - the recorded session to replay
- Target - Scene or Assets
- Scene (when Target is Scene) - which scene to composite
Studio shows the credit cost before you commit.
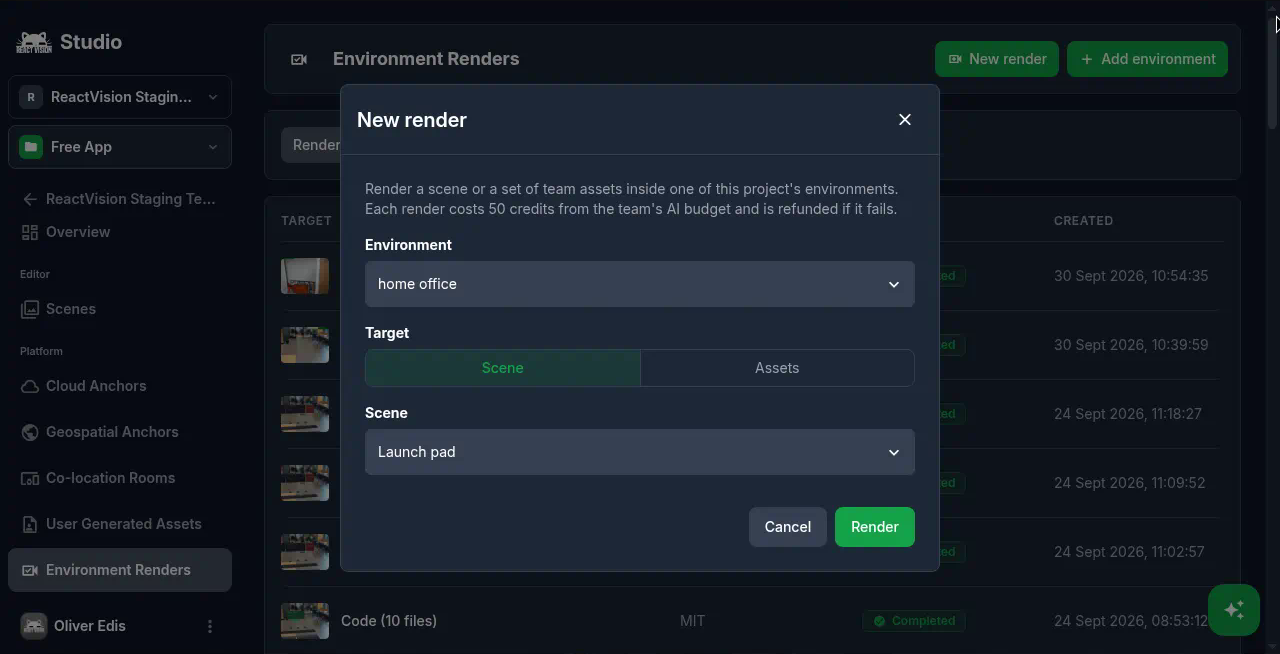
3. Render and review
Hit Render. Same credit cost and refund behaviour as the in-scene path. Finished videos land on the Environment Renders list.
Upcoming events
Sessions that pair well with field-test workflows and multi-platform AR. Full details: reactvision.xyz/community/events
- Ctrl+Space: Expo x ReactVision Hackathon - San Francisco 3 October 2026; London 8 October; Toronto 10 October; Bengaluru 18 October