Getting Started with Advanced VPS
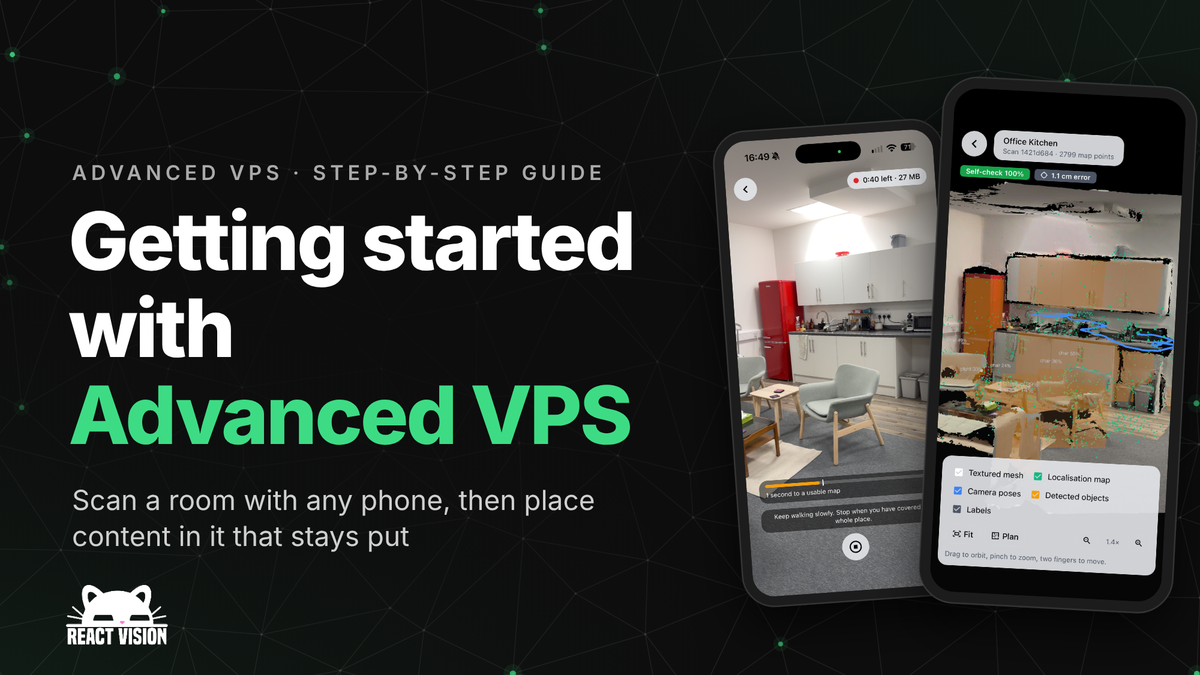
The first time you place a model in AR, it feels like magic. The second time you open the app, the model is somewhere else, or nowhere at all, and the magic is gone. Your phone knew where it was for one session. It had no idea it had been in that room before.
Advanced VPS fixes that. You walk a room once with a phone, and from then on your app can recognise that room, work out where the user is standing in it, and put content back in exactly the same place, for every user and every session. This guide takes you from an empty project to a scanned room with a model sitting in it.
How do I get started with Advanced VPS?
Install ViroReact 3.1.0 or later, add your ReactVision Spatial client key and project ID to the Expo plugin, then record a short walk around the room and upload it with uploadScanRecording(). Once ReactVision Spatial has built and accepted the map, put a <ViroVPS> and a <ViroVPSAnchor> in your AR scene, call startTracking() with the location's id, and anything inside the anchor appears in the same real-world spot every time.
What Advanced VPS is, and when to use it
Advanced VPS is ReactVision's visual positioning system. It turns a recording of a real place into a map that devices localise against. While ARKit or ARCore track the phone, your app keeps matching what the camera sees against that map, so it knows where the phone is in the room and keeps correcting drift as the user moves.
It works in four steps:
- Record. A phone records the place with ViroReact's AR session recorder.
- Upload.
uploadScanRecording()sends the recording to ReactVision Spatial as a scan of a location. - Process. ReactVision Spatial builds the map, plus whatever else you asked for: a mesh, a Gaussian splat and the objects it found. The map checks itself against its own recording, and if it passes it becomes the location's active map.
- Track.
<ViroVPS>finds the location, localises the device in its map and keeps tracking it. Anything inside<ViroVPSAnchor>sits in the map's coordinates.
Reach for it when content needs to belong to a place rather than to a session: wayfinding inside a building, instructions pinned to a specific machine, labels on shelves, or a shared AR scene that every visitor sees in the same spot. If you only need to drop a model on the nearest table for a few minutes, plane detection is still the simpler tool.
Try it first in StudioGo
If you'd like to see Advanced VPS working before you write any code, start with StudioGo, our free companion app for iOS and Android, on the App Store and Google Play. Walk a room with it and it records and uploads a scan for you, with an optional mesh quality setting and object detection. A few minutes later you can view the place's map and mesh in 3D, and check the map by localising against it.
Scanning needs StudioGo 1.8.0 or later and a paid plan. Each scan also appears on your project's VPS Locations page in the Editor, with its quality readings and every file to download. Locations made in StudioGo are shared with every user of your project, so when you start building, your app can localise against the same room.
Before you start
You will need:
- ViroReact 3.1.0 or later. Advanced VPS shipped in 3.1.0. The current stable release is 3.2.0, which needs React Native 0.88 and Expo SDK 58. If your app is still on React Native 0.86 or Expo SDK 57, stay on 3.1.x for now.
- An iPhone, iPad or Android phone. Recording, uploading and tracking run on iOS and Android only. Meta Quest, Apple Vision Pro and the web do not support VPS.
- A ReactVision Spatial project on a paid plan, with compute billing set up in the Editor.
- A room with some detail in it. Furniture, pictures and doors all help. A long blank corridor is the hardest place to start.
You do not need a phone with LiDAR. If the phone has LiDAR or the ARCore Depth API, Advanced VPS records depth and uses it to build a better mesh, especially on plain walls. Without it, the mesh comes from the camera images alone.
Step 1: Set up your project and keys
Create a project in the Editor and copy its project ID. Then create two keys on your team's API Keys page, under Integrations:
- A client key (
rv_client_) that goes in your app. It can find and track the project's shared locations and download the files devices need, and nothing else. - A secret key (
rv_secret_) with the Advanced VPS (vps) scope, which stays on your backend.
A client key cannot create or upload scans. So if your users will scan places from your app, your backend mints them short-lived user tokens with the secret key. Never put a secret key in an app you ship.
Install ViroReact. On React Native 0.88 and Expo SDK 58:
npm install @reactvision/react-viro@3.2.0On React Native 0.86 or Expo SDK 57, use the latest 3.1.x release instead:
npm install @reactvision/react-viro@3.1.1Add your client key and project ID to the ViroReact Expo plugin in app.json, then run npx expo prebuild again:
{
  "expo": {
    "plugins": [
      [
        "@reactvision/react-viro",
        {
          "rvApiKey": "YOUR_REACTVISION_CLIENT_KEY",
          "rvProjectId": "YOUR_REACTVISION_PROJECT_ID"
        }
      ]
    ]
  }
}
With these set, <ViroVPS> and the location functions need no address or credentials of their own.
Issue user tokens from your backend
Your backend signs the user in with your own auth, then mints a user token for them with the secret key. A token covers one project and one app user, and lasts up to an hour. The setup docs show the request: see Mint user tokens on your backend.
In the app, createUserTokenCredentials() wraps your backend's token route. It only asks your backend for a token when it needs one, refreshes it before it expires and replaces a refused token once, so you are not minting a new token on every request:
import * as React from "react";
import { createUserTokenCredentials } from "@reactvision/react-viro";

const credentials = React.useMemo(
  () =>
    createUserTokenCredentials({
      projectId: PROJECT_ID,
      fetchToken: async () => {
        const r = await fetch("https://api.example.com/rv-token", {
          headers: { Authorization: `Bearer ${await getSessionToken()}` },
        });
        return r.json();
      },
    }),
  [userId] // one set of credentials per signed-in user
);
Make one per signed-in user, or call credentials.clear() when they sign out.
Step 2: Scan the space
A scan is an AR session recording: the camera video, the phone's motion and its tracked poses, and depth where the phone can measure it. If you want depth, turn it on when the navigator mounts, because switching it on mid-session reconfigures AR and can make tracking jump:
<ViroARSceneNavigator depthCaptureEnabled initialScene={{ scene: ScanScene }} />Then record from the scene. useViroCaptureGuidance() watches the camera while you record and gives you a live hint when the person scanning is turning too fast ("fast"), pointing at the floor or ceiling ("pitch"), standing too close ("close") or pointing at nothing with detail ("blank"). The hints are ids, so your app chooses the wording:
import * as React from "react";
import { ViroARScene, useViroCaptureGuidance } from "@reactvision/react-viro";

// A plain path in your app's storage, not a file:// URI.
const SCAN_DIR = `${APP_DOCUMENTS_PATH}/scans/office-break-area`;

function ScanScene(props: any) {
  const nav = props.arSceneNavigator;
  const { recording, onRecorded, onHint } = nav.viroAppProps;
  const sceneRef = React.useRef<ViroARScene>(null);
  const guidance = useViroCaptureGuidance({ enabled: recording, sceneRef });

  React.useEffect(() => {
    if (!recording) return;
    (async () => {
      // Only ask for depth where the device can record it.
      const depth = await nav.isRecordingSupported({ depth: true });
      await nav.startRecording(SCAN_DIR, { depth });
    })();
    // Stopping resolves once every file is complete.
    return () => {
      nav.stopRecording().then(onRecorded);
    };
  }, [recording]);

  React.useEffect(() => onHint?.(guidance.hint), [guidance.hint]);

  return <ViroARScene ref={sceneRef} onCameraTransformUpdate={guidance.onCameraTransformUpdate} />;
}
If you want to hold the record button until AR tracking has settled, useViroTrackingReady() tells you when it is ready to start.
Tips for a good scan
- Keep it to about a minute. A slow walk round a room is plenty. You are not trying to film every corner.
- Walk, don't spin. Move through the space and look around as you go. Turning on the spot gives the map very little to work with.
- Point at the walls and the things in the room, not the floor or the ceiling, and don't stand so close that the camera only sees one surface.
- Turn slowly. A fast sweep blurs the frames and weakens the mesh.
- Listen to the hints. If your app shows the guidance above, the person scanning will learn all of this in their first go.
Step 3: Upload and wait for processing
When stopRecording() resolves, check success, then upload the same folder. The upload runs in the background on both platforms, so it carries on even if the user leaves the screen:
import { getScan, uploadScanRecording, ViroVPSError } from "@reactvision/react-viro";

async function onRecorded(result: { success: boolean; error?: string }) {
  if (!result.success) return setStatus(`Recording failed: ${result.error}`);

  try {
    // Create a new location with its first scan.
    const scan = await uploadScanRecording(
      { location: { name: "Office break area" } },
      SCAN_DIR,
      {
        credentials,
        outputs: ["mesh", "splat", "semantic"], // the map is always built
        meshQuality: "medium",
        onProgress: (sent, total) => setStatus(`Uploading ${Math.round((100 * sent) / total)}%`),
      }
    );

    // Poll every few seconds until processing ends.
    let s = await getScan(scan.id, { credentials });
    while (s.status === "awaiting_upload" || s.status === "queued" || s.status === "processing") {
      await new Promise((r) => setTimeout(r, 5000));
      s = await getScan(scan.id, { credentials });
    }

    if (s.status === "succeeded" && s.map_accepted) {
      setLocationId(s.location_id); // ready to track
    } else {
      setStatus(`Not usable: ${s.map_rejected_reason ?? s.error ?? "unknown"}`);
    }
  } catch (e) {
    if (e instanceof ViroVPSError) setStatus(`Upload failed: ${e.code ?? e.message}`);
    else throw e;
  }
}
A few habits worth keeping from this:
- Check
map_accepted, not justsucceeded. Only an accepted map becomes the location's active map. If it is rejected,map_rejected_reasontells you why, and the fix is usually another, slower walk. - Catch
ViroVPSError. Itscodetells you what went wrong. If the recording was stored but the upload didn't finish, the error carries ascanIdyou can pass back touploadScanRecording()to resume. - Read
quality. For a scan with a mesh,quality.mesh_confidencecomes back asgood,fairorpoor, with reasons such as blank walls or a fast sweep. Show those to whoever scanned.
You don't have to watch from the app, either. Each project in the Editor has a VPS Locations page with every scan's progress, its quality readings and a 3D preview.
Step 4: See what you got back
Every scan builds the map. With the outputs above, you also get:
| File | What it is |
|---|---|
map | The map devices localise against. |
world_mesh | A light, untextured mesh. <ViroVPS worldMesh> loads it for occlusion and physics against the real room. |
mesh | The textured mesh, as a binary glTF (.glb) you can open in any 3D tool. |
splat | A Gaussian splat of the room, as a PLY file, for photoreal viewing in your own tools. |
semantic | The objects found in the room, such as chairs and TVs, each with a label, position, bounds and confidence. |
poses | The camera pose and intrinsics for each recorded frame. |
Everything comes back in the same coordinate frame as your content: metres, with Y up. When we scanned our office break area for the launch video, it came back with a 4.71 by 4.35 metre floor and 20 labelled objects, all in the coordinates you place content in.
One thing to know: because the textured mesh, the splat and the poses are a photoreal capture of the place, a client key cannot download them. Use a user token, or fetch them from your backend with the secret key.
Step 5: Localise against the scan and place content
This is the part your users will actually see. Put a <ViroVPS> and a <ViroVPSAnchor> in your scene, then call startTracking() once ARKit or ARCore are tracking normally:
import * as React from "react";
import {
  ViroARScene,
  ViroTrackingStateConstants,
  ViroVPS,
  ViroVPSAnchor,
  Viro3DObject,
} from "@reactvision/react-viro";

function TrackScene(props: any) {
  const nav = props.arSceneNavigator;
  const { locationId, credentials, onState } = nav.viroAppProps;
  const vpsRef = React.useRef<ViroVPS>(null);
  const started = React.useRef(false);

  const onTrackingUpdated = (state: number) => {
    // Start once, when AR tracking is normal. Calling it again replaces the load.
    if (state === ViroTrackingStateConstants.TRACKING_NORMAL && !started.current) {
      started.current = true;
      vpsRef.current?.startTracking(locationId);
    }
  };

  return (
    <ViroARScene onTrackingUpdated={onTrackingUpdated}>
      <ViroVPS
        ref={vpsRef}
        arSceneNavigator={nav}
        credentials={credentials}
        worldMesh={{ occlusion: true }}
        onTrackingState={(e) => onState(e.state, e.errorDetail?.code)}
      />
      <ViroVPSAnchor onAnchorStateChange={(e) => onState(e.state)}>
        {/* Map coordinates: metres, Y up, the same on every device */}
        <Viro3DObject source={require("./sign.glb")} type="GLB" position={[0, 1.5, -1]} />
      </ViroVPSAnchor>
    </ViroARScene>
  );
}
The anchor stays hidden until localisation converges, and hides again if tracking is lost, so you never see content floating in the wrong place while the app is still working out where it is. onTrackingState walks through searching, mapLoaded and then tracking, and reports lost if the app found the room and then lost it. That difference is worth showing in your UI: "looking for the room" and "point back at the room" are different instructions.
startTracking() can find the location in three ways:
- A location id, when your app already knows the place, as above.
"auto", which uses the device's geospatial pose to find the nearest location with a map, and falls back to"visual"without one."visual", which finds the project's location from what the camera sees. This is the one to use indoors, where GPS doesn't help.
Pin content to real objects
If you built the scan with semantic, you can attach content to the things in the room rather than to coordinates you measured by hand. getSemanticObjects() returns them in the map's frame, ready to use inside the anchor:
// ViroText also comes from @reactvision/react-viro.
type RoomObject = { id: number; label: string; position: [number, number, number] };
const [objects, setObjects] = React.useState<RoomObject[]>([]);

const onTrackingState = async (e: { state: string }) => {
  if (e.state === "tracking" && vpsRef.current) {
    setObjects(await vpsRef.current.getSemanticObjects());
  }
};

// Inside <ViroVPSAnchor>:
{objects
  .filter((o) => o.label === "chair")
  .map((o) => (
    <ViroText key={o.id} text="Take a seat" position={o.position} scale={[0.2, 0.2, 0.2]} />
  ))}
On the device or on the server
By default, <ViroVPS> downloads the location's map and matches the camera against it on the phone. That suits most apps. Set localization="server" and the phone sends a camera frame about once a second to our VPS server instead, then one every 10 seconds once it has converged. Server mode holds up much better in places that change between visits, such as different lighting or moved furniture. It needs a network connection for every fix and a map built for server mode. Switching is one prop, and your content lands in the same spot either way.
Next steps
- Scan the room again. Later scans of a location are aligned to its active map, so content you have already placed stays where it is. Upload with
keepRecording: trueand, once a location has two accepted scans, ReactVision Spatial can merge them into one map that localises from more directions. - Place scenes without code. In the Editor you can bind a scene to a location and position content against the scanned mesh.
- Use the files in your own pipeline. Your backend can list locations and scans and download every file with the Advanced VPS API.
- Let your coding agent help. The ReactVision MCP server gives tools like Cursor and Claude Code the current ViroReact APIs, including everything in this guide.
- Bring your own capture. Advanced VPS runs in our cloud or on-prem, and it can take scans from custom capture pipelines, such as smart glasses and drones. If that's your setup, talk to us.
Read more in the Advanced VPS docs, see everything it does on the Advanced VPS page, or catch up on the launch in Introducing Advanced VPS. If you build something with it, come and show us on Discord.
Frequently asked questions
Which version of ViroReact do I need for Advanced VPS?
Do I need a phone with LiDAR to scan a room?
How long should a scan take?
Which devices can localise against a scan?
Can my app find the room without GPS?
Can I use scans from my own hardware?
Get the ReactVision newsletter
Product announcements, including ViroReact, ReactVision Spatial, Editor and MCP updates, direct to your inbox. No spam, and you can unsubscribe at any time.